Tuesday, July 31, 2012

Swiss Flying Sites

 I'm not normally a jealous person, but Andreas just sent me these pictures where he and some nephews are flying.  Next vacation, I'm tagging along!!

Sunday, July 29, 2012

Video For Making 1S Batteries

Here's a video showing the process of making the 1S batteries I've written about before.  I'm putting this up for The Crash Cast.

http://eastbay-rc.blogspot.com/2011/10/cheap-lightweight-battery-for-night.html
http://eastbay-rc.blogspot.com/2012/01/update-night-vapor-batteries.html

You can find the Liquid Tape on Amazon as "Plastic Dip Intl. LET14Z01 Liquid Electrical Tape"


Saturday, July 28, 2012

Maya Camera Control With Arduino-Based Sensors

My friend and colleague Adam H took my Arduino class this last winter.  He's done two projects so far that relate to his work as a layout artist.  Here's his project that controls Maya with a motion tracking sensor.  Very neat! 
 Here's the sensor.  I think it's the 3-axis gyro module from Sparkfun.

And here's Maya... as you can see in the video below, moving the sensor moves the camera.  I'll try to convince him to write this up a bit more when it's finished.  He's also got a neat two-axis camera dolly he needs to write up!


Ladybird motor repaired!

Finally received my replacement motor.  I was going to take a few pics of the Ladybird disassembled, but was so concentrating on not loosing the screws I got distracted.  Anyways:  pop the body off and unscrew the leg with the bad motor.  Undo the power and swap the leg.  You might have to undo some of the other screws to route the wire.  The screws go through rubber standoffs -- don't let them fall out!

Walkera - DEVO Tx, Hoten-X

If you're like me, you vaguely knew in the back of your mind Walkera was popular in the heli world.  They came to the forefront of my brainspace with the Ladybird... a real gem in the nano-quad world.

Here's a breakdown of their various DEVO transmitters.  Thanks to vendor Walkera Helicopter Supply for that. It's nice, since the model numbering is a bit random.  I'm interested in getting a model that supports expo for my Ladybird.  The DEVO 10 looks tempting... ARM processor, upgradable firmware, telemetry.


The Hoten-X looks like a nice mini-quad... brushless, 200 size, telemetry, 2S 1000 mAh.  If it flies anything like the Ladybird it will be a winner.

Sunday, July 22, 2012

Weekly Roundup of Miscellaneous Stuff


Good Selection of HobbyZone Parts at www.wholesaletrains.com.  Champ, Night Vapor.  Seem to have good pricing on other things as well.


Danosongs Royalty-Free Music 
Need some tunes for your videos?  Dan-O has them.


Auduino Timer Interrupt Tutorial here.


Did you like the cat quadcopter?  You'll love the blowup-doll quadcopter.  No orientation issues here!

Some Foamy Scratch-Build Links

Here's some starting points for scratch-building cheap foamies.  By "cheap", I mean:

  • Less than $30 for electronics, receiver included
  • $1 - $15 for the airframe
  • Planes are somewhat "disposable" -- if you crash one or if one does not work well, you can pull out the electronics and have a new model ready to go in a couple of days
That's cheap enough that you can get a nice Turnigy 9x and still be able to get started for not much more than $100, everything included.

There's tons of information in the RCGroups Scratchbuilt Foamies Forum. Many of the world's foremost foamy designers put their designs here. Here's some models which I think are pretty good.


EzFly -- a great little flyer and trainer from EPP.  I love mine!  


EPPYak55 -- another model by leadfeather, who did the EzFly.  I'll make one of these soon!


F22 -- this is a sweet-flying plane that can turn on a dime. Andreas built a pair for us.  I love flying mine, and it looks like it's going to be the gateway drug for Mark VandeWettering over at Brainwagon!


BluBaby -- one of the most famous scratch-built foamies.  This is one of the first planes I built.  The first one was so terrible I recycled it for parts without trying to get it to fly.  I've got two built now (I learned a lot by building in pairs).  Ironically I got busy on other things so they've never been maidened.  I promise I'll do that soon!


Dollar Tree Delta -- I just saw this one on RCG -- very tempted to try it out, since it fits on one piece of dollar tree foam and looks like it can be put together in an hour.


The FliteTest guys have an interesting concept: build a central body frame that hold the electronics, and have that body module swappable with multiple airframes.  I thought it was kind of weird when they did their first model, but now that they've got a couple of different models it's easier to see what they were getting at.

FT Flyer -- based on the classic Blu Dart.
Nutball -- of course, based on the classic Nutball, but uses the central body frame.


Twelve Feet of Power!

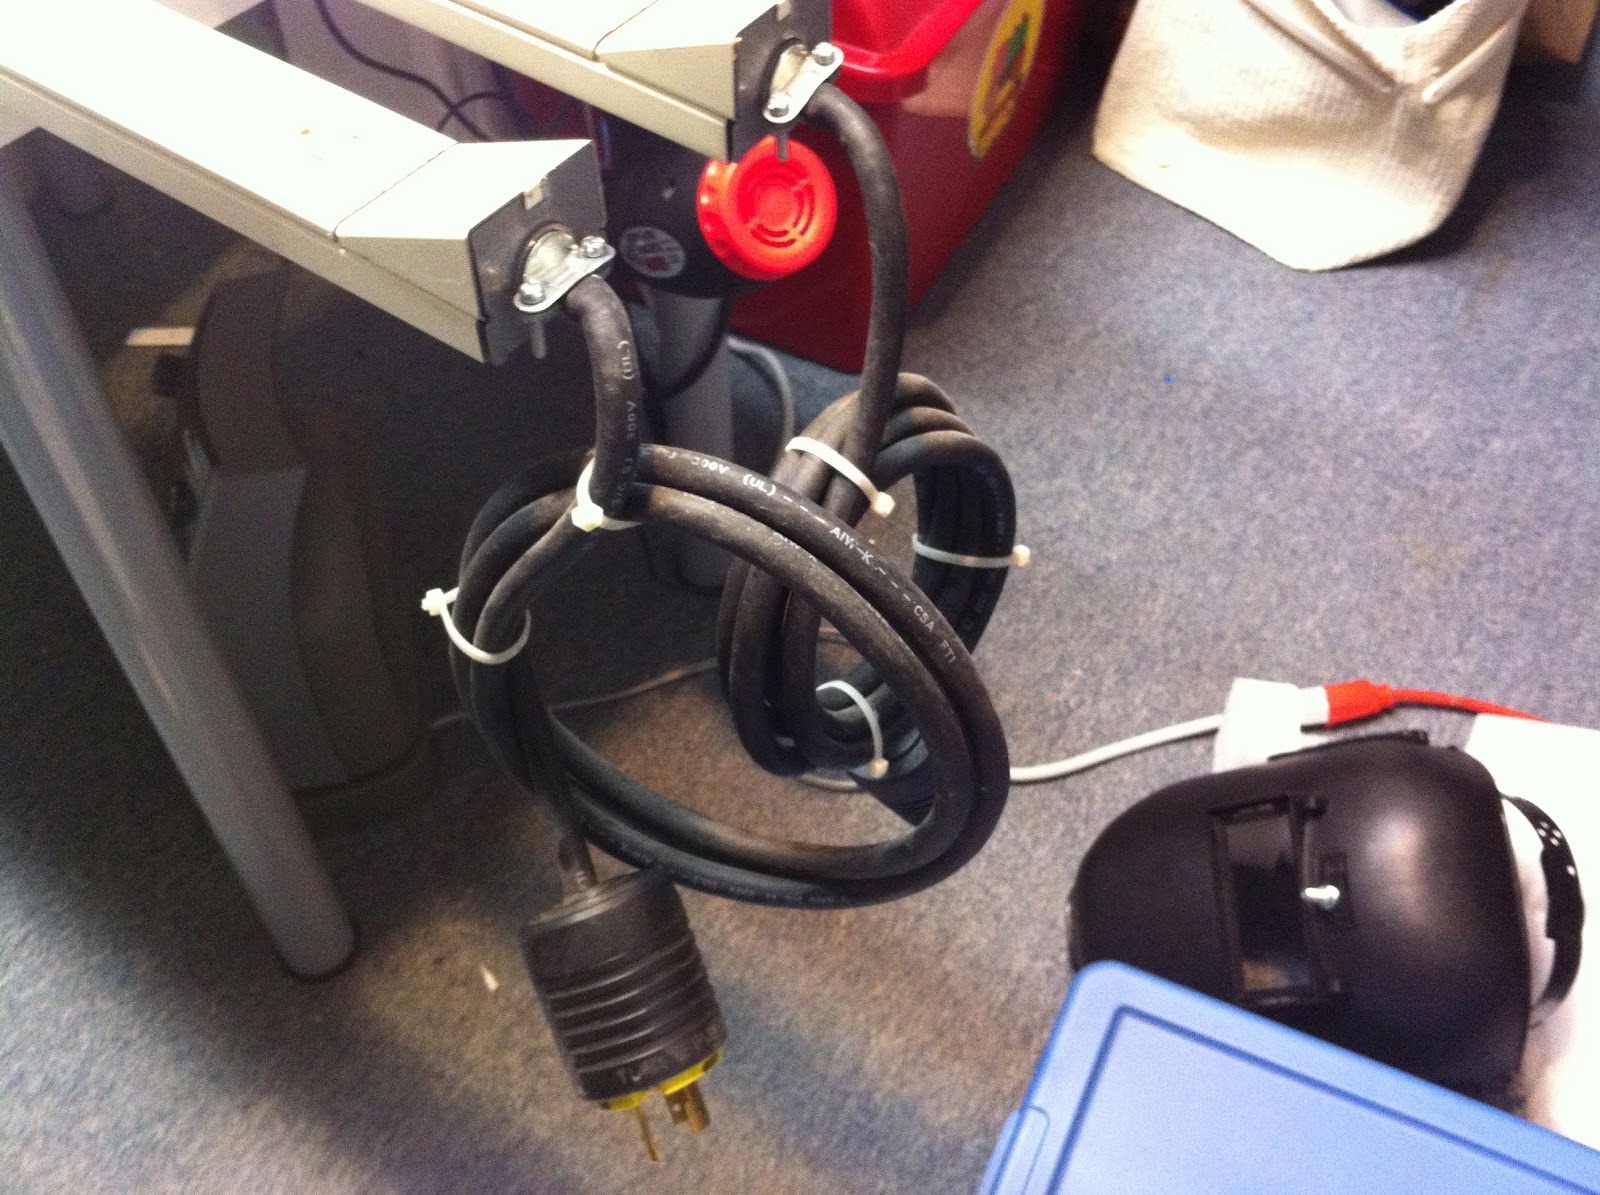
 Power strips normally woudn't be worth a blog post, but these are some serious power strips!  Our IDFs at work are getting an upgrade, and these were going to recycling.  My friend Zoe gave the the heads-up, and our IDF people very kindly let me take them.  They're 6 feet long and have 12 outlets each.
 Oops, they're wired for a 20 amp feed... will that be hard to change? I hope not... I've got the problem of having lots of little wall wart transformers to plug in.  None of them draw much current, but not too many can fit into a typical power strip.
 No problem, the external wiring is connected in this V-shaped part, which simply snaps off.  There's simple wire nuts attaching the power line in place.  This is going to be easier than I thought!
I clipped the end off of two heavy-duty extension cords for the power.  They fit right in with no problem. Be sure to check and double-check the polarity.  This is not something you want to get wrong!  Neutral goes on the large blade.  There should be approximately 120 volts between hot and ground, and approximately 0 volts between neutral and ground.
Here's the cover snapped back on and the power wire secured tidily.
 Here's the power strip being replaced.  It couldn't fit enough of the wall warts, so I had to put another power strip near the table for wall wart use.  I measured the current with everything plugged in, and it was quite low.  All the high-amp stuff is in the garage workshop.
Another extension cord up high for the flourescent lamps.  I took advantage of the space there for the laptop power supply as well.  All that will be gone!
The first power strip plugs into the wall outlet; there's nothing hard-wired.  The second power strip plugs into the first power strip.  I thought about making a Y-harness for providing power to the two strips, but that seemed pretty pointless compared to this solution.  The outlets on the power strip are 20A, but of course I know they're plugged into a 15A circuit.  They're the ideal height for attaching to the pier next to my table.
 And here's what it looks like.  I'm so pleased with it!  Everything is easy to plug in, and you don't have to crawl under the table to reach anything.  I can move the units around in future if necessary.
Here's the view from the workbench.


 Update: here's what the inside looks like.  I opened it up to take out a loose bolt from removing the mounting bracket.  It's well insulated inside as you can see.

Pry the cover off at the end; keep prying, moving 6 inches or so at a time and alternating sides.  The cover will curl a bit, but that didn't seem to hurt it.  Be careful not to bend it too much at the cutouts.
The end opposite the power can be tapped if you want to make a super-long strip, or go around a corner or somesuch.

Putting the cover on was easy; lay the cover in place, and use some vice grips to squeeze the cover back onto the tracks.  Be careful not to scratch things up if that's important to you.  It might pay to put a cloth in the jaws where it contacts the power strip.

Thursday, July 19, 2012

Some ideas for FPV goggles + glasses

Cutting out old eyeglasses to fit Fatshark glasses.

The Fatshark goggles have a little slot where a lens can go... and you can buy sets of lenses, then a slider in the front of the goggles (one per eye) lets you fine-tune your view.
What I did was take an old prescription pair of glasses from my old glasses drawer, and use the Dremel grinder to cut them to a size that fits into the Fatsharks' ocular slots.


fpv-plastics.com sells ski goggles pre-configured for various goggles.


Modifying myvu glasses to remove the blue screen.

Tuesday, July 17, 2012

Balsa source for Zii aileron

In case you can't get it locally or from ritewing:

3/8 x 2 x 48 Balsa Aileron
balsausa.com

AeroNaut folding props at Atlanta Hobby

Atlanta Hobby has some good deals on carbon folding props.  And check out their awesome online customer service.

Classic Carbon Folding Props
Cam Carbon Folding Props
AeroNaut Folding Prop Adaptors

For a complete setup, you need a shaft adapter, a yoke and prop.

Here's the transcript of my session.  I had pre-typed my question.  "hello" within 20 seconds, an answer in about a minute or so.  I'm a fan!

Mark Harrison:
Hi!

I saw your announcement about the folding carbon props, in both the
cam and traditional styles.

http://www.atlantahobby.com/Store/pc/CAM-Carbon-Folding-c794.htm
http://www.atlantahobby.com/Store/pc/Classic-Carbon-Folding-c793.htm

What hardware do I need to mount these props?
Is there different hardware for the cam and traditional props?

Sales:
You will need the shaft adapter and the Yoke. let me show you some links
Sales:
One sec
Sales:
This is the link you need http://www.atlantahobby.com/Store/pc/AeroNaut-Adapters-c267.htm
Sales:
Pick a shaft adapter then a Yoke
Mark Harrison:
That's just what I needed to know... thanks a bunch!!!
Sales:
U R welcome