Showing posts with label _toc:Workshop. Show all posts

Thursday, March 7, 2013

New Downshooting Rig

Here's my new downshooting rig!  It's always been a serious pain to set up a tripod on the workbench to shoot, because it takes up all the room on the workbench!  I saw this instructable, and here's my version of it.  The clever bit is using the two linked pipe clamps to make the 90 degree connector for the boom.
I followed the instructable pretty closely.  I used 1 inch dowels for sturdiness, and didn't bother embedding the tripod mount, since I've got an iphone tripod mount already.  Instead of using wire to attach the camera holder, I just cut the dowel and used glue. I liked how the instructions for aligning the iphone brackets use the iphone itself, wrapped in a plastic shopping bag, which doesn't stick to the epoxy.
Here's a shot showing how I cut and glued the camera bracket.  I used PU glue (white gorilla glue) which was quick and filled up the gap from my crooked cut.
If the shaking is too bad, I'm going to mount the leftover bit of dowel as shown here (using two more pipe clamps) and brace the rig against the wall.  Hopefully that won't be necessary.
Here's a still shot.  The still camera has a wider viewing angle than the video.

Note: the camera was in portait mode, so I had to rotate this and the following pictures.  Be sure and put the camera in landscape mode if that's how you want to shoot.
Here's a shot where I was bumping the table.  It seems it may not be as much of a problem as I had feared.
Here's a shot while the rig is vibrating up and down.  Even with this, there's only a little distortion.
And a shot while the arm is oscillating side to side.  I gave the rig a pretty strong tug, far more than would ever be caused by a simple bump.  Watch this in the video, it's pretty alarming!


Overall, it looks like it might work pretty well, at least based on this first impression.  Here's a video showing the rig and taking some test videos.


Sunday, July 22, 2012

Twelve Feet of Power!

 Power strips normally woudn't be worth a blog post, but these are some serious power strips!  Our IDFs at work are getting an upgrade, and these were going to recycling.  My friend Zoe gave the the heads-up, and our IDF people very kindly let me take them.  They're 6 feet long and have 12 outlets each.
 Oops, they're wired for a 20 amp feed... will that be hard to change? I hope not... I've got the problem of having lots of little wall wart transformers to plug in.  None of them draw much current, but not too many can fit into a typical power strip.
 No problem, the external wiring is connected in this V-shaped part, which simply snaps off.  There's simple wire nuts attaching the power line in place.  This is going to be easier than I thought!
I clipped the end off of two heavy-duty extension cords for the power.  They fit right in with no problem. Be sure to check and double-check the polarity.  This is not something you want to get wrong!  Neutral goes on the large blade.  There should be approximately 120 volts between hot and ground, and approximately 0 volts between neutral and ground.
Here's the cover snapped back on and the power wire secured tidily.
 Here's the power strip being replaced.  It couldn't fit enough of the wall warts, so I had to put another power strip near the table for wall wart use.  I measured the current with everything plugged in, and it was quite low.  All the high-amp stuff is in the garage workshop.
Another extension cord up high for the flourescent lamps.  I took advantage of the space there for the laptop power supply as well.  All that will be gone!
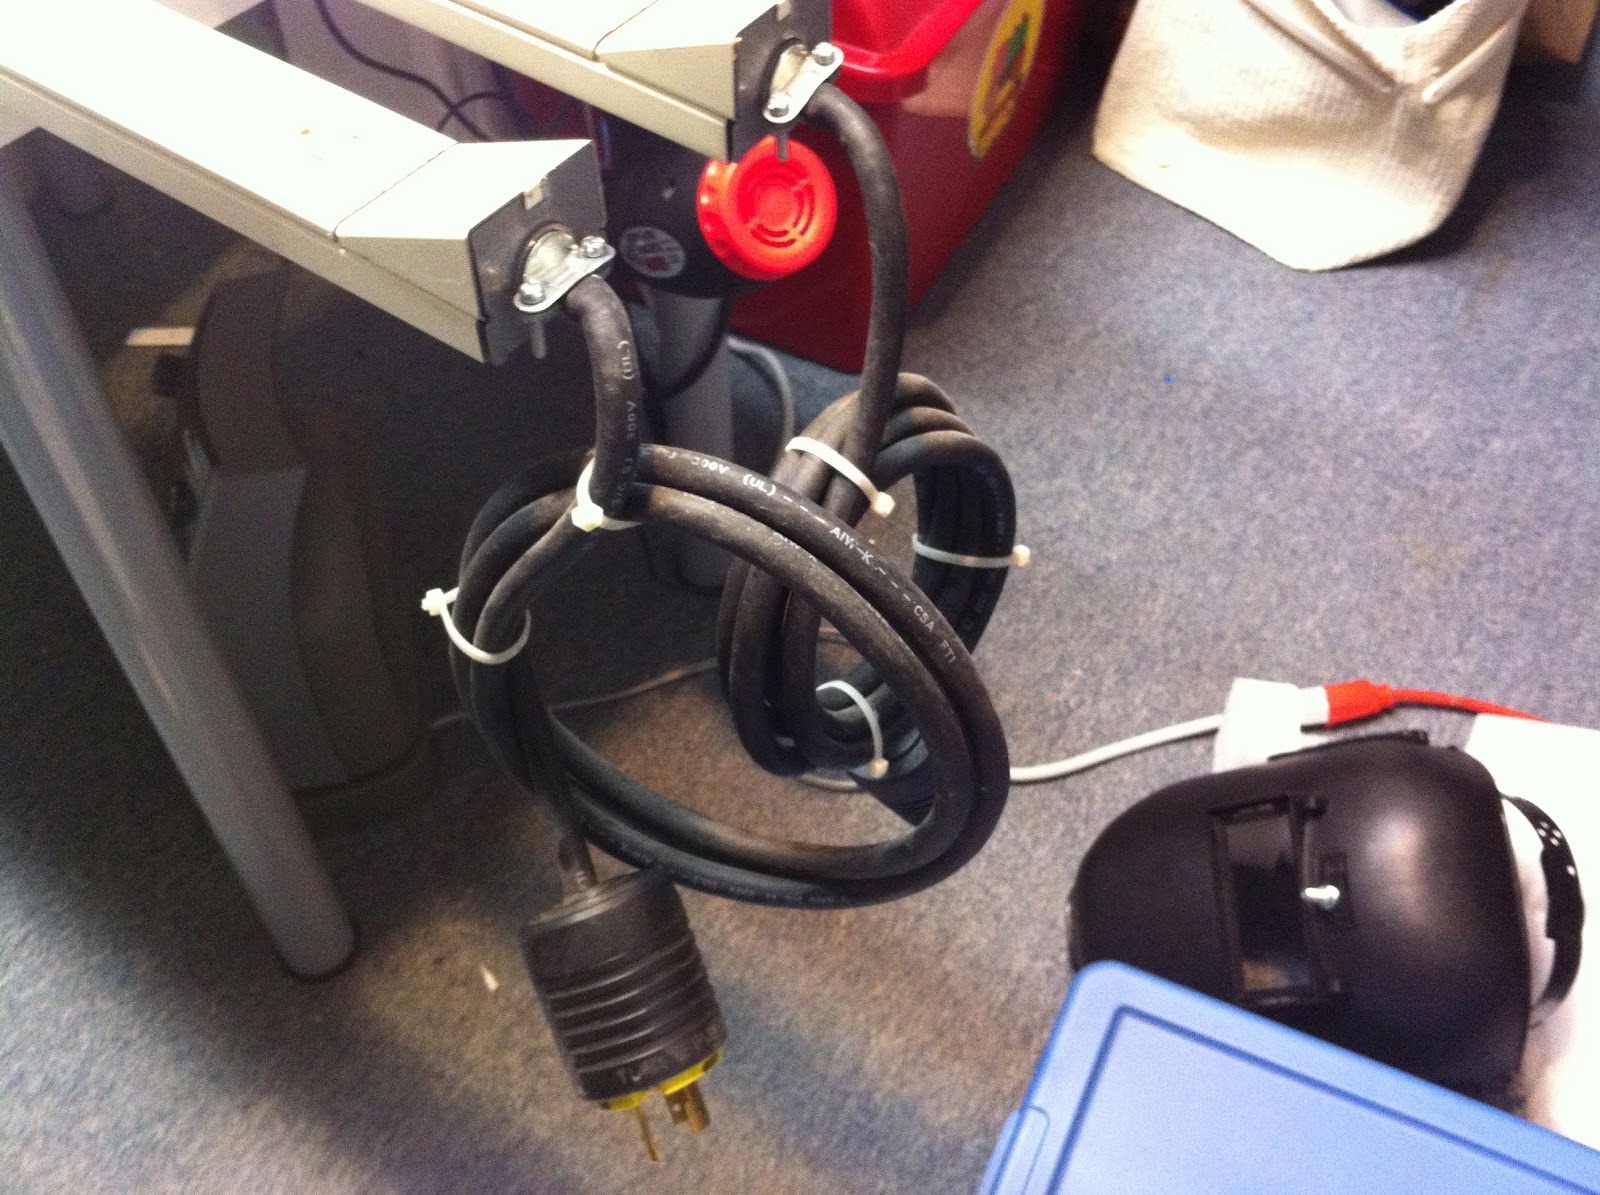
The first power strip plugs into the wall outlet; there's nothing hard-wired.  The second power strip plugs into the first power strip.  I thought about making a Y-harness for providing power to the two strips, but that seemed pretty pointless compared to this solution.  The outlets on the power strip are 20A, but of course I know they're plugged into a 15A circuit.  They're the ideal height for attaching to the pier next to my table.
 And here's what it looks like.  I'm so pleased with it!  Everything is easy to plug in, and you don't have to crawl under the table to reach anything.  I can move the units around in future if necessary.
Here's the view from the workbench.


 Update: here's what the inside looks like.  I opened it up to take out a loose bolt from removing the mounting bracket.  It's well insulated inside as you can see.

Pry the cover off at the end; keep prying, moving 6 inches or so at a time and alternating sides.  The cover will curl a bit, but that didn't seem to hurt it.  Be careful not to bend it too much at the cutouts.
The end opposite the power can be tapped if you want to make a super-long strip, or go around a corner or somesuch.

Putting the cover on was easy; lay the cover in place, and use some vice grips to squeeze the cover back onto the tracks.  Be careful not to scratch things up if that's important to you.  It might pay to put a cloth in the jaws where it contacts the power strip.

Monday, November 28, 2011

Ye Olde Workshoppe

A friend asked about my workshop, so I thought I would take some pictures and post.  It's in a corner of my basement.  A coworker gave me some nice florescent lights which I've put to good use here.  I hot-glued some foam on one end so as not to bang my head. Behind the big stack of all kinds of foam is a super-heavy vertical file.  I brought the nice glass-door cabinet back from China.  It was only $60!  We're not allowed to count the basement space in the square footage of the house because the ceiling is not 8' high, but it's still a nice work and storage space.

 Sometimes I worry that I'm going to end up on the hoarders TV show.  But at least my hoarding is OCD-level organized... I could be a crossover show!  I've scrounged these computer boxes from recycling; they make great shelf organizing units.  The shelves were from Target.  I got them on sale, three pieces for $99.  I've been trying to think of an excuse to get rid of them for the last 20 years, but it always seems easier to repair them than to replace them.  That's OK, I'm sure the replacements would be identical-looking ones from Ikea.
 Of course, I also have a full complement of plastic organizers.  I have some from Harbor Freight which are nice and tight, but with razor-sharp latches.  My favorites are from Ace.  As you can see, I have a label-maker and I'm not afraid to use it.
I could run a small hobby shop from my supply of electrical connectors.  About half of my first six months of messing around with RC planes was spent waiting for various connectors to arrive from China.  Apparently there's some kind of international regulation that no two pieces of RC equipment in the world should come with compatible connectors.  See the blog label connector-mania to enjoy the fruits of my many hours of research into electrical connectors and their names.


My workbench is the cheapie table from Ikea.  The legs were $20 for 4, and the top is $6.  I saw Crash Hancock had a nice glass tabletop to protect his workbench.  I thought about doing this until my wife pointed out that I could probably buy 20 tabletops for the same price.  One of the smartest things I did was buying a nice Weller soldering iron.  The tool holder thing is from a Harbor Freight tool case.  It's attached to the pier with a big zip-tie, the plastic industry's answer to duct tape.


Here's my view when sitting at the workbench.  On the wall is my French-themed Nutball.  It was supposed to be a patriotic USA design, but everybody that sees it thinks it's French. The bookcase holds the overflow from upstairs.  It's from Ikea too!  I didn't like how things were arranged, so I'm rearranging it one more time (see above comment regarding OCD!).