Come fly with Mark in the lovely San Francisco East Bay!
Tuesday, May 20, 2014
Taranis Speaker Upgrade
Here's how I did my Taranis speaker upgrade. I got this speaker ("2W 2 Watt 8 Ohm 36mm Dia Aluminum Shell Internal Magnet Speaker") from ebay vendor digitalzone02 and used this 3D printed speaker mount. 30mm pill bottles have been reported as working well.
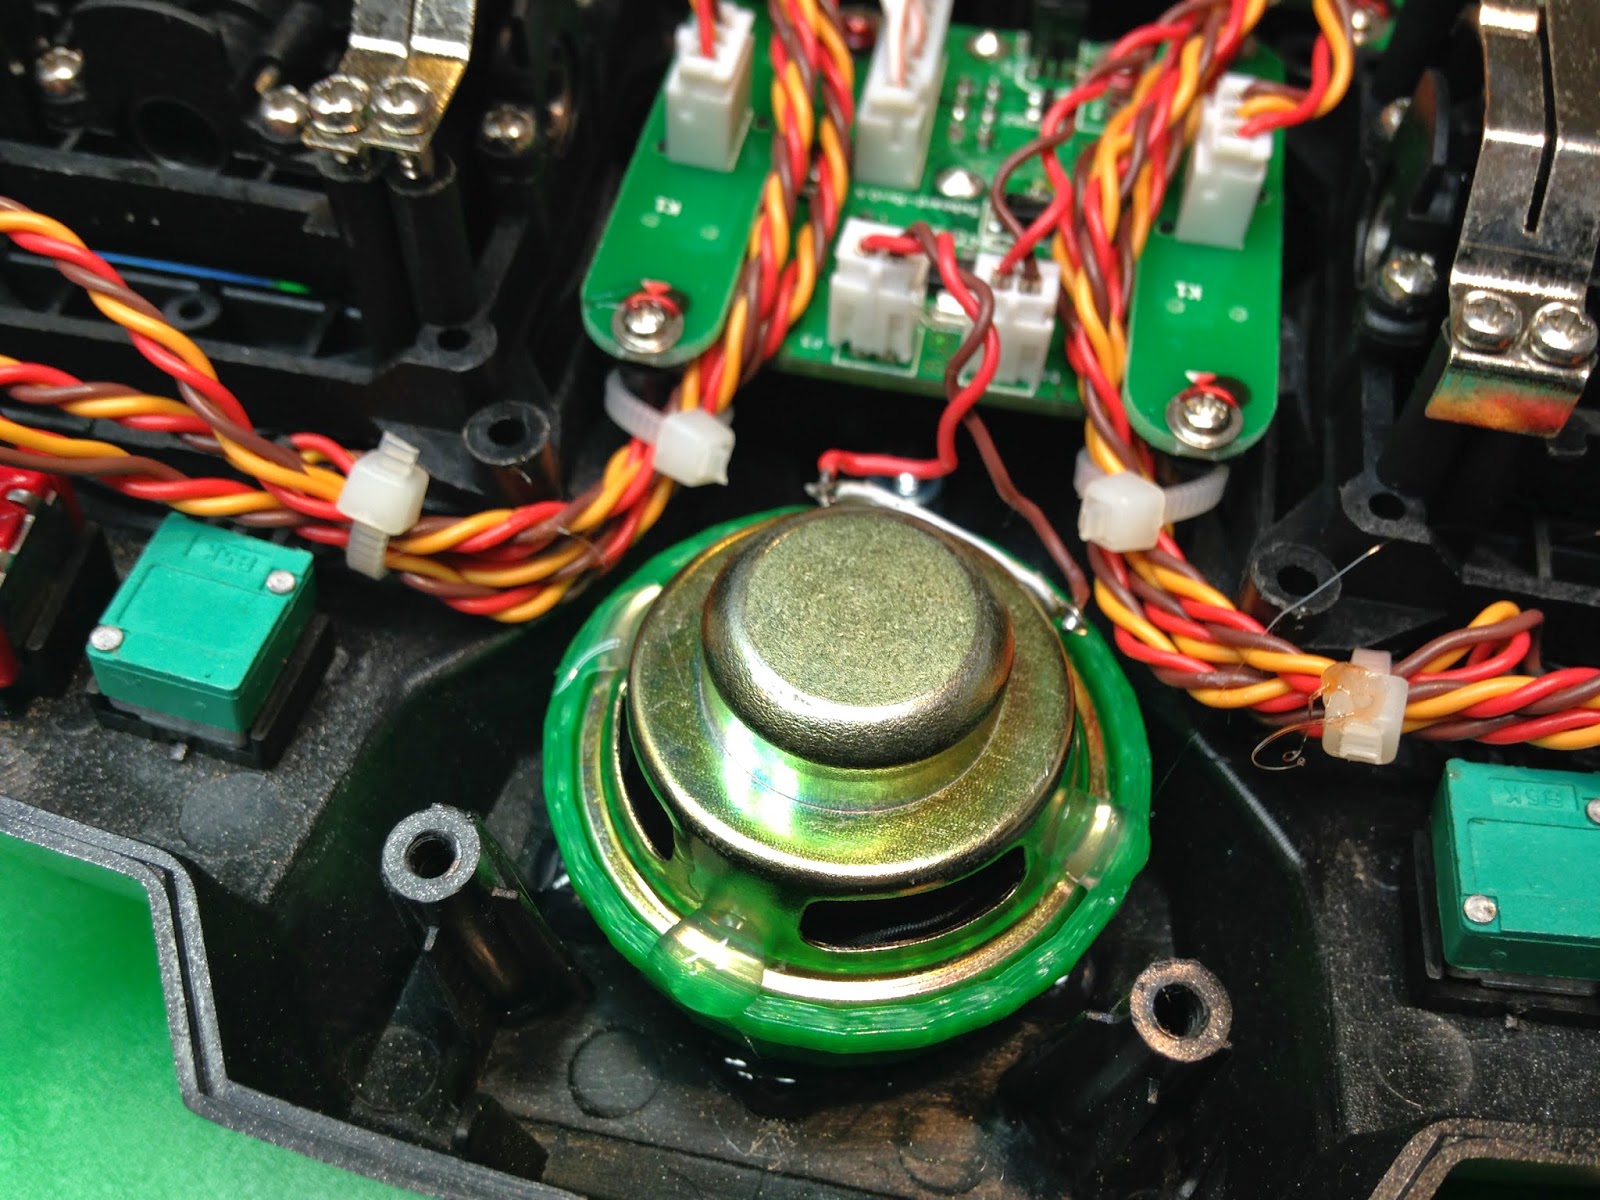
Here's the original speaker. It's held in by hot glue. Note that the speaker wire is connected to the daughterboard with a connector. I had planned on soldering everything "in place" but with that connector it's easier to pull everything out first.
Popping the original speaker off reveals the back of the cover. Some people have dremeled out a hole in the case and fitted a mesh enclosure. I didn't do that.
Here's the speaker mount dry-fitted.
And with the speaker mounted on top.
Here's a comparison between the two speakers. Wonder why the replacement sounds a bit more beefy?
Unsolder the cable from the original speaker and solder it onto the new speaker. Polarity doesn't matter, since it's a mono system, but I preserved it anyways. The speaker wire has a connector that snaps onto the daughter board.
The connector fits on the pins on the left side.
I had originally planned to solder the speaker wires while attached to the board, but since they were on such a convenient connector I took it out to solder.
A couple of dabs of hot glue at the low temperarture setting holds everything together nicely.
And some hot glue to hold the mount in place. Notice that I hadn't attached the wire to the pins properly, resulting in a silent speaker. The connector will snap all the way down.
The increase in volume is pretty nice, as you can hear below. Now I usually keep the volume control at about 50% rather than at 100%. If you're in an environment with varying background noise levels, use one of the pots or sliders to control the volume.


No comments:
Post a Comment