Monday, January 31, 2011

rcgroups urls for posts and threads

I haven't seen this documented anywhere, so I thought I would note it here.

an individual post (incidentally, the 17 millionth one!):
  • http://www.rcgroups.com/forums/showpost.php?p=17000000
a post in the context of a thread:
  • http://www.rcgroups.com/forums/showthread.php?t=1377399#post17252794
a thread, starting from the beginning:
  • http://www.rcgroups.com/forums/showthread.php?t=1377399
first unread post in a thread:
  • http://www.rcgroups.com/forums/showthread.php?t=1377399&goto=newpost

Sunday, January 30, 2011

rcexplorer kk build guide released

David has released the first cut at a setup guide here.  Initially it covers tri and quad configurations.  Check it out, and if you're building an rcexplorer copter leave a note on rcexplorer so we can follow you!
"This little procedure has the potential to save you platform or face, so be sure to make it a habit."

Some random questions based on first reading: (update: with some answers provided by David in the comments)
  • what's the difference between setting up a + and x quad configuration?  Is it simply a matter of downloading the right software?  does the board need to be rotated 45 degrees?
    answer: there are some differences, guide will be updated soon.
  • where's the software download?
  • where's a pointer to how to download a new build? presumably somewhere over in kk-land.
    answer: need to know about AVR programming, perhaps David will create a guide for that as well.
  • in section "finding the correct gain" the last item is "too low gain is recognized by", what is "too high gain recognized by"?
    answer: "too high gain" is recognized by platform rocking back and forth or side to side.
  • need to figure out how EPA works... is this something the kk software does automatically?  Does this refer to the radio sticks or the ESCs?  or perhaps both have them?
    answer: EPA is set in the transmitter, and is like a global dual rates setting.

Blog Reorganizing

So after fiddling with this thing for a while, I think I've got a good plan for organizing things.  First, the goals of the blog are to be:
  • a running journal of what I'm doing
  • a compendium of things I've figured out ("Mark's RC Encyclopedia")
  • a tumblog (sp?) of things to look at further
After trying several approaches (pages, tags, etc), I think I've come to the conclusion that a tag-based system works best on blogger.  No surprise I guess, the google-brain seems to be tag-based!  So:
  • pick some standard tags for the above topics, or anything else that needs to be a "subject"
  • make the "combined" page by using the tag-search page, e.g. http://eastbay-rc.blogspot.com/search/label/electronics.
  • Put these on the side bar by using the (whats this called?) list page feature.
  • tag nomenclature?  should it be "by the numbers" or "by-the-numbers"?  Since the search is url-based, let's use hyphenated names for now, so we don't have to pass around an ugly %20 in urls.
  • style guide: use singular for the label, plural for the collection.  e.g. "vendors" will be a collection of label "vendor".
Some problems to figure out later:
  • the search/label approach lists the pages in reverse order.
  • the search/label approach possibly limits the number of pages returned.  for now, that doesn't seem to be much of an issue.
Start off with these tags.  I won't keep the list updated here, it will be on the list-thing on the side bar
  • by-the-numbers --  everything figured out about equipment specifications
  • arcticopter -- about the arcticopter project
  • the-fleet -- planes in the fleet
  • vendors -- links to random vendors and notes about what they are selling
  • ghetto -- awesome low-cost stuff
  • blogging -- blogging stuff
  • set up some standard tags: by-the-numbers for technical information

Saturday, January 29, 2011

Starting the Arcticopter I

We've got most of the Arcticopter I components ordered.  Here's what we're going with for the main components.  I'll keep track of the actual pieces that go on, including the fiddly bits, and post that as we figure it out.  

Frame: AeroFPV.  This looks to be a very solid frame that will still be pretty light.  It's made from milled aircraft aluminum.  The milled joints mean that it will be more rigid than the equivalent 2D cutout pieces, and that pieces will be held in place by "mechanical advantage" (i.e., there's a groove in the center plate where the legs attach, so it's not depending on just the friction of the bolts -- what is this called?)  They've also designed it so that it will hold a gopro, and have isolated the moving parts from the electronics and camera mounts, so vibration will be less of a problem.
Controller: KapteinKUK flight controller, from rcexplorer.se.  I was quite excited when I heard that dadde86 himself was going to be supplying boards.  He is one of the giants of FPV flight, and judging by all his prior work I'm confident that this unit will be well-built and well-supported.  KapteinKUK seems to be a bit of a genius himself; check out his projects and posting on RC Groups.
Props: 8x3.8 APC Slowfly and Slowfly Pusher.

Batteries: initially we're trying both of these: Turnigy 2200 mAh 3S 25C, Turnigy 3000 mAh 3S 20C.

Battery Charger: Because this will be used in a remote location,  I recommended the Turnigy 4x6S charger and 25 amp power supply.  He'll be able to charge 4 batteries at once at 2C capacity, so in principle they'll be done in 30 minutes.

Radio: Turnigy 9X transmitter and 8-channel receiver.  It seems everybody has a good opinion of this model... it is certainly hard enough to order!  I put it on backorder, and as soon as my notification mail arrived I checked and it was already in backorder again.  Same for the receivers... I was waiting for them to become available so I could add some spares onto another order, but I think the same thing happened... the entire shipment went to filling back orders, so I'm going to go ahead and back order them as a separate order.

We're also interested in experimenting with the arducopter, but we were caught in an upgrade lag for the version 2 boards.  It also comes as a kit, which means there's a lot of soldering to be done ("now attach the other 138 header pins in the same way..."  For the Arcticopter I, I want to eliminate as many variables as possible, and it would be pretty uninteresting if the entire first phase of our project were devoted to hardware debugging.

Arcticopter Project Overview

Here are Josh's basic requirements for a flying aerial platform:
  • portable enough to take to remote locations.
  • easy enough to operate so that he can concentrate on the photography and not the flying.  As he says, this is a photography project and not a model RC project!
  • reliable enough that he can attach several thousands of dollars with of high end camera gear and expect to get it back in working order.
It seems that what will best suit his needs is a multicopter of some sort capable of carrying an SLR. We've broken the work down into a couple of phases.

  1. Get a small quadcopter flying around reliably; take some pictures and video with a gopro.  This will be the Arcticopter I.
  2. Add FPV to the Arcticopter I.
  3. Add some electronic guidance features.  Likely candidates will be altitude hold, heading hold, and RTH (return to home).
  4. Build a larger model capable of carrying a payload comparable to a large SLR, lens, and control system.  This might be a hexacopter and will be the Arcticopter II.
  5. Add FPV, electronic guidance features as above.
  6. Add an SLR camera mount and control system.
  7. Add SLR.  I imagine we'll do a lot of experimenting with a low-end SLR before we attach Josh's full-frame Canon!
Nomenclature note:  We'll bump the Arcticopter number each time it undergoes a significant revision such as changing the control board or frame.  This will make it possible to discuss each of these changes in a bit more succinct manner.

Next up: the Arcticopter I!

Kicking off the Arcticopter!

Josh's Firefall in Yosemite
So I found out my friend, coworker, and top-notch photographer Josh Anon was planning another photo expedition.  This wasn't news... he's been all over the world taking pictures and is highly regarded by people who know a lot about photography.  One of my favorites is his shot of Horsetail Falls in Yosemite, with the water catching the light of the evening sun and giving the appearance of a waterfall made of fire.  There's only a couple of days in the year where the angle of the sunlight makes this possible, and those are in February when the sky is usually dreary and overcast.  It's so rare that it's even written up on Snopes as a possible urban legend!

What was new, however, is that he was thinking of taking an RC helicopter along in order to take some aerial photographs.  He rented a helicopter in Iceland, with some pretty stunning results.  But for an upcoming expedition to another remote location, he was quoted a cost of in the range of $100,000 per week.  Nice work if you can get it!

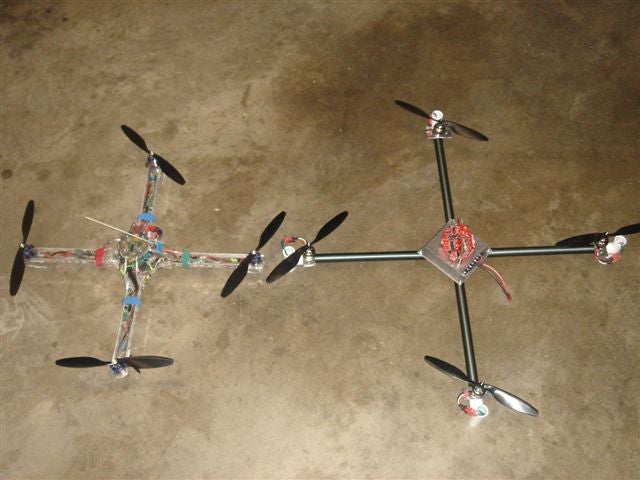
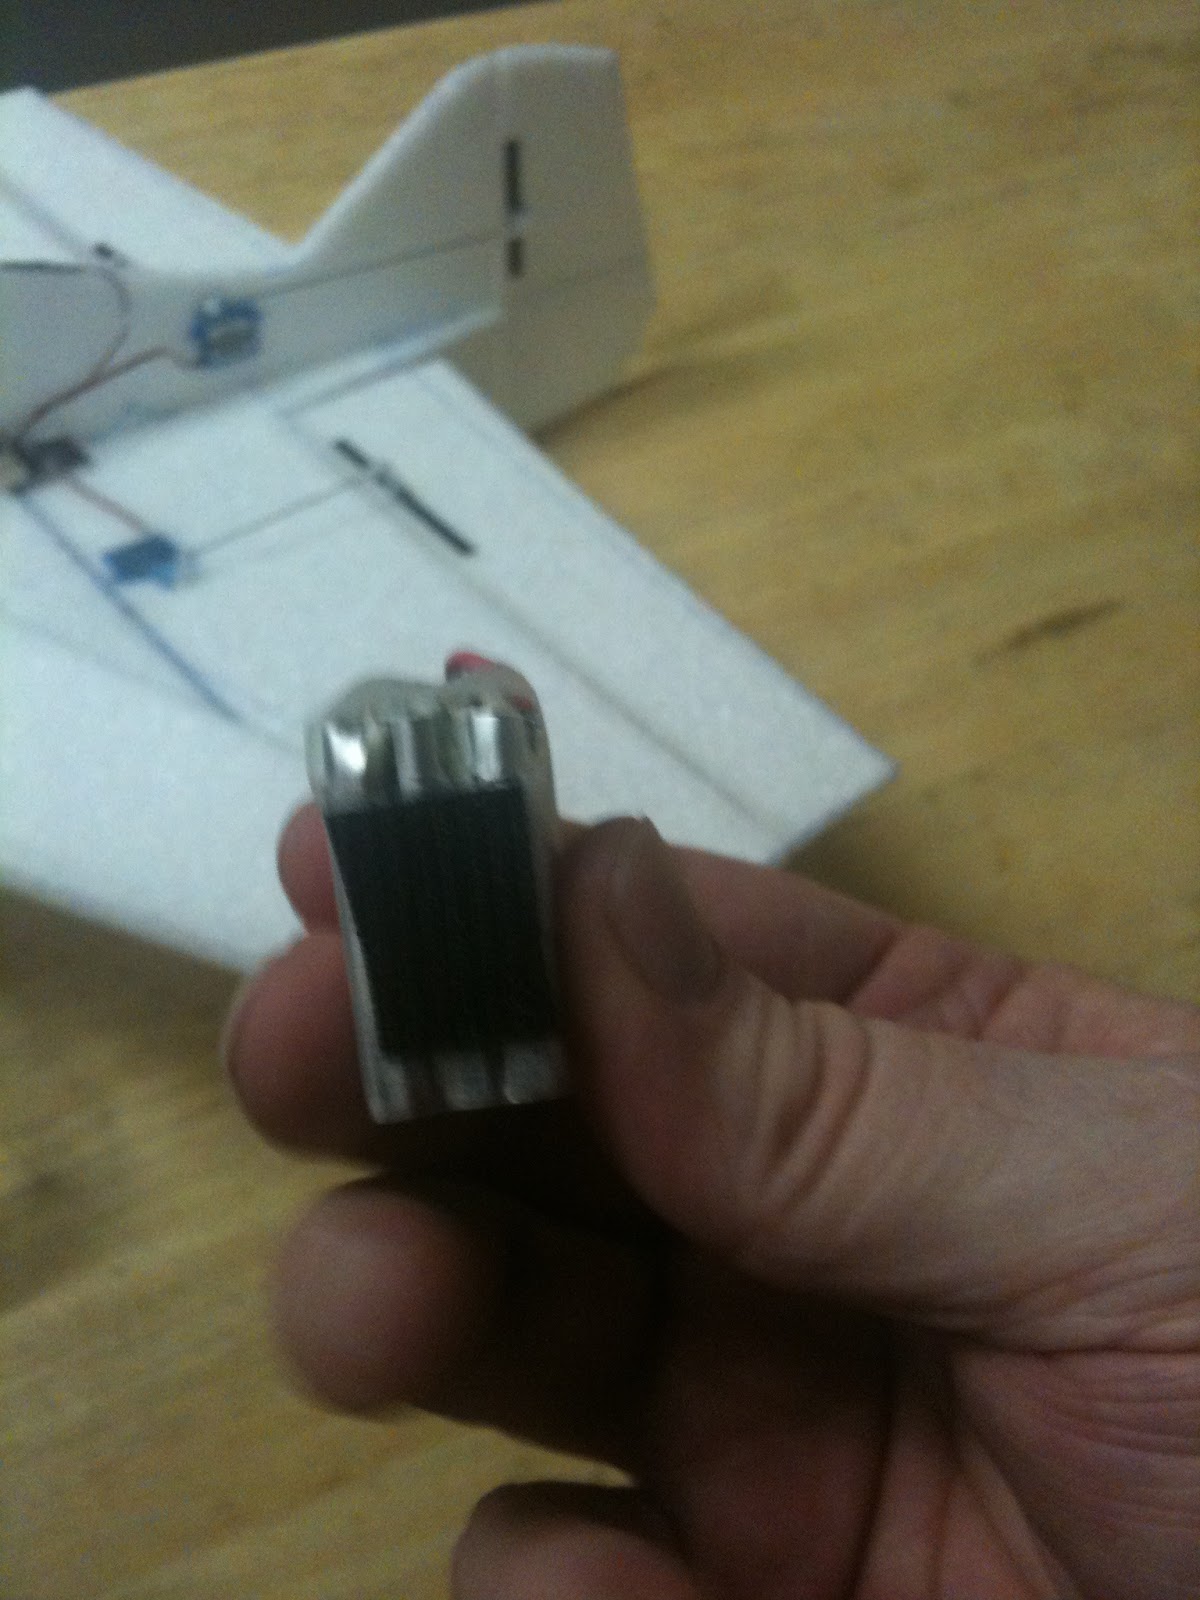
Fortunately, he happened to mention this on his Facebook.  I was really excited by this -- one of the things that got me started in RC last year was David WindestÃ¥l's beautiful videos taken in Sweden.  I wanted to do the same thing with some of the great scenery around the Bay Area.  In addition, I've always been interested in flying and flight control, and I really wanted to learn more about how autonomous flight systems worked, and try building a system for myself.

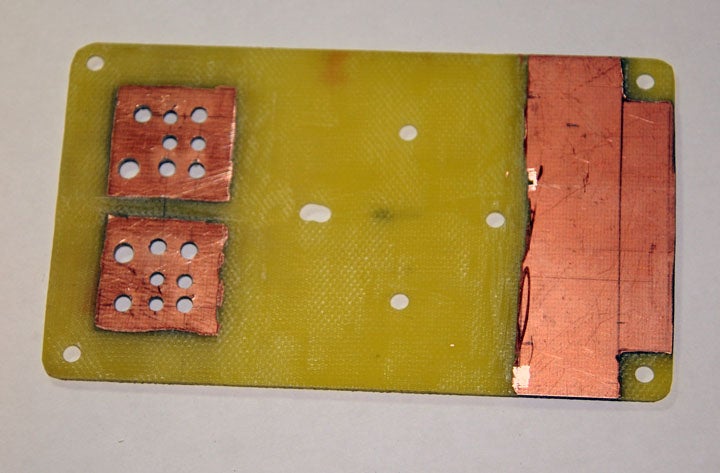
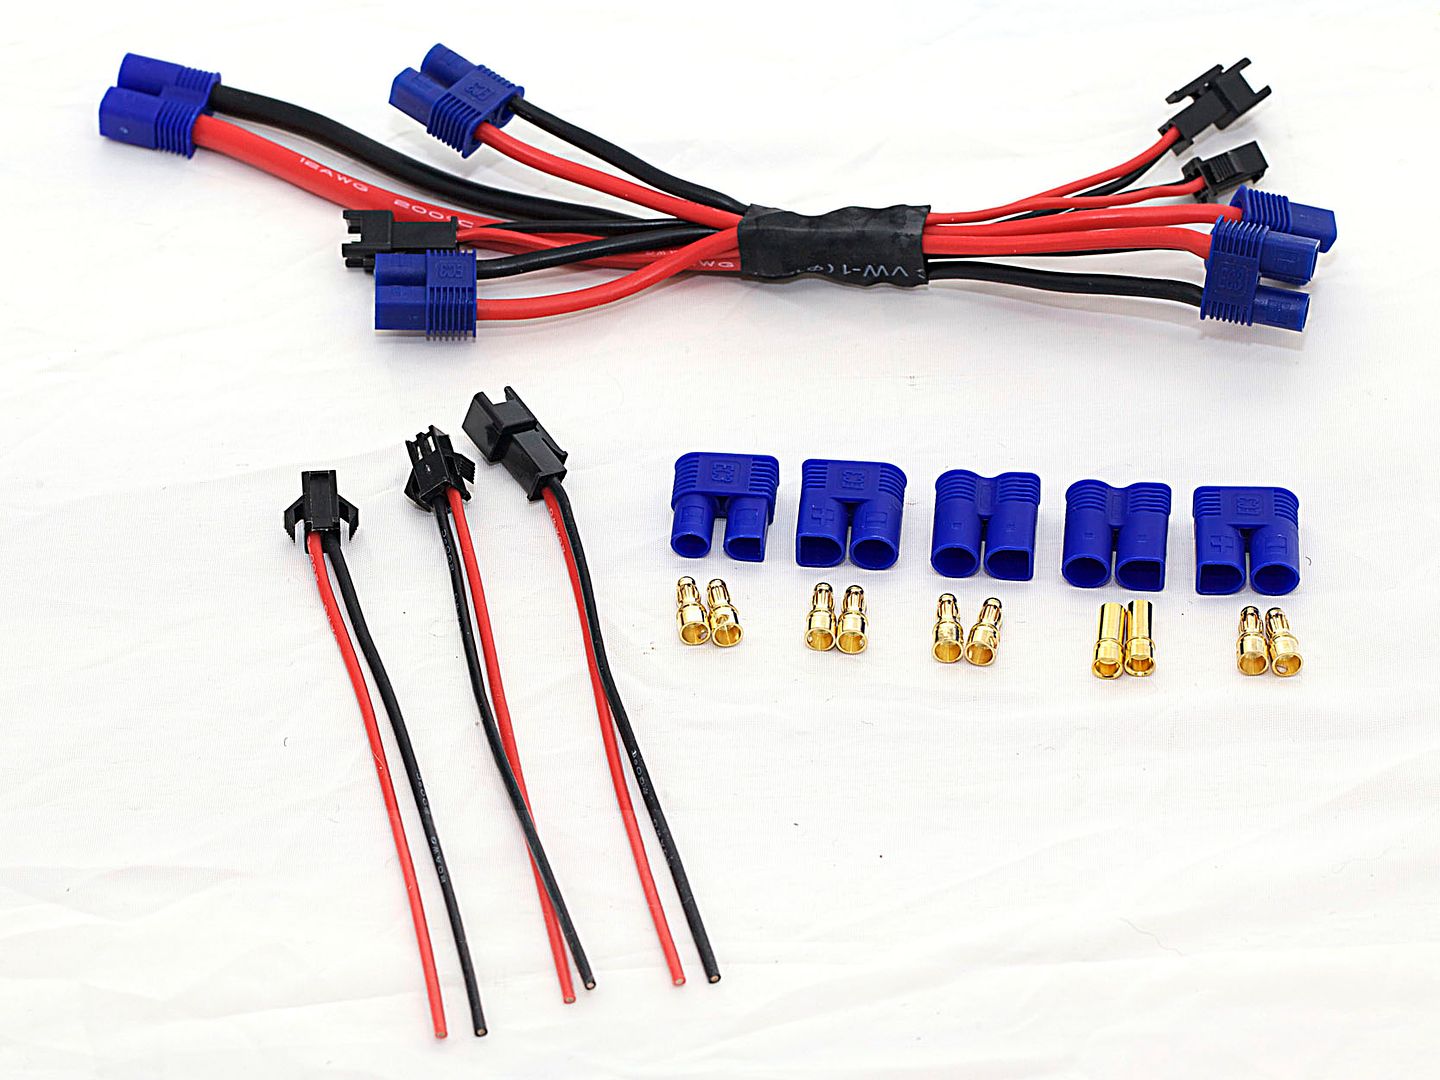
So, I immediately sent Josh a note, and told him I would love to work with him on this project.  He agreed, we worked out a plan, picked a name, and so here we are!  I'll blog more details in upcoming posts, but for now I just want to announce the birth of the Arcticopter Project.

two nice articles in portugese

http://helimaniacos.blogspot.com/2010/05/nomenclatura-servo.html
http://helimaniacos.blogspot.com/2010/05/nomenclatura-bateria.html

RangeVideo!, Wireless video solutions.

RangeVideo.: "We are the premier distributor and developer of wireless A/V equipment and accessories. We tailor to the hobbyist by designing easy to use, long range, wireless video systems and accessories."

What CPU for Real Flight g5.5 Need computer Gurus help! - RC Groups

RC Groups:
"Knife Edge Software suggests at least a dual core processor with 2GB of RAM or more, and 512 MB of fully dedicated video memory (or more) is strongly recommended for best performance. They suggest for video cards:

From the GeForce 7000 Series: 7600GT, 7800GT, 7900GT
From the GeForce 8000 Series: 8600GT, 8800GT
From the GeForce 9000 Series: 9600GT, 9800GT
From the GeForce 200 Series: GTX or GTS 260 or higher
From the GeForce 300 Series: GTX or GTS 360 or higher
From the GeForce 400 Series: GTX or GTS 460 or higher

From the Radeon HD 4000 Series: Radeon HD 4600 or higher
From the Radeon HD 5000 Series: Radeon HD 5600 or higher"

$2 quad frame!

YouTube video
Writeup and details
Based on the UAVX.

Frame: 15mm 'U' channel aluminium pipe
Central plate: 'Wall mount plate of Electric Bulb Holder'
Total frame cost: less than US$2
net weight of frame: < 800g.
battery: 2500mA 3S 25C
motor: r2hobbies.com Turborix 750 rpm/v DAT-750 RC 800g Plane Outrunner Brushless
ESC: himodel.com, 40Amp

Power Distribution via screw terminals

The Flying Breadboard: "Another small problem was the power distribution. We had to get power from 1 battery to 4 engines, so we created a splitting system made from 6 screw terminals. More work on that (including connecting the lipo) will follow later this week."

ArduCopter power distribution PCB for Quad setup

DIY Drones:
"First users need to put some soldering paste on center traces, this way we can drive currents over 40 Amps. Thickness needed for 30 amp constant currents is at least 0.5 millimeter of soldering paste (like on PCB at center). This is essential otherwise board cannot handle current surges."

Drawing for a simple Power Distribution Board

RC Groups: "very simple : 2 or 4 pads on a pcb, minus from the battery on one (or two) positive on the other one (or two) and then all escs are connected to the pads using solder.
Simple, neat and fail-proof"

cncguns power distribution board

RC Groups post: "i am going to be using cncguns power distribution board since we are both using the same frame/quad setup/design. some people stated that the pcb traces needed to be built up w/ solder for the A needed for the quad. i did a solder paste/flow and wanted to get your opinions if i built up the traces enough - i added ~.025' of thickness to the traces. the more i use solder paste the more i can't believe i waited so long to use it"

Read the whole thing, it's got several pictures of how to do this.

ghetto PC board: sand off the copper layer!

ArduPirates build: "Ideally, the power distribution board should have been made like PCB's are usually done. But I did not want to meddle with FeCl and the long preparation process (may be I'll do it some day). So I sanded off copper layers with Dremel except two square areas."

Friday, January 28, 2011

off-the-shelf Power Distribution boards and harnesses

kkmulticopter.kr:  $7.00
"Switch included.  Thickness: 1.6mm
Switch slot length: 7mm  Hole distance: 45mm
Weight: 12g
This kit is compatible with MikroKopter components."


aeroquad: $17.95
"Very simple, yet solid power harness design for you to confidently put your quadcopter design together.  This has four power/ground wires for each of your motors, plus one plug for your Arduino / AeroQuad Shield and two additional plugs for things like powering external LED's.  The blue plugs are EC3 connectors which includes 3.5mm bullet connectors with the blue plastic hood.  All mating connectors are provided to give you a complete solution."


jdrones: $12.00
"Power Distribution for Quad Copters
Includes:
    * Power Distribution PCB (Rev.D)
    * 20 Pin 90 deg Pin header
    * 4 pin 20 awg signal cable
    * 2 pin 20 awg signal cable"

Using XT60's for power distribution

dalswede on rcgroups has a nice post on his quad.  Here's his XT60-based power distribution unit, future-proofed as he notes for a hex.

WAGO 222-415 connector for power distribution

Here's a nice flickr set by Lenz Grimmer for his quad build.  He is distributing power using Wago connectors and credits Christof Glückler for the idea.  Genius!!

The 5-connection unit is WAGO 222-415.  They also sell 2 and 3 connection units.  There's a couple of people selling them on ebay.

Thursday, January 27, 2011

Virgis21's very stable flight video

On RC Groups, 6500m LOS

"Used: Dragon OSD+, Dragon Link and FY-20A II fro stabilization (ailerons). Wingspan is 2.2m, battery 10 000mah. Lawmate 1.2ghz 1w, patch 8dbi on the ground. Camera: dx201 (default settings)."

Forget FPV!

This just posted on the HK twitter feed.  Forget FPV, I'm just gonna make my multicopter out of these and fly around looking at things with my own two eyes!

Attaching 4mm bullet connectors.

ESC connection -- Battery is opposite.
Here's how the bullet connector cover attaches.  Note the hot wire cover is slightly smaller.  When attaching, put the cover onto the wire, solder the bullet connectors, and slide the cover over the connectors.  If you're doing a battery, do one wire at a time in order to reduce the chance of shorting out the wires.  If the cover has a tight fit, try warming it up a bit with a hair dryer or (carefully) with a heat gun.  You can attach a spare connector of the opposite gender to give you something to press against.

Note that the polarity is different depending on whether the connectors are attached to a power source (e.g. battery) or to something that is using the power (e.g. ESC).

Battery:
  • hot (+) wire: female
  • neutral (-) wire: male
ESC:
  • hot (+) wire: male
  • neutral (-) wire: female

Replacing an ar.drone parrot battery

The specs for the ar.Drone battery are as follows:
  • 3S 11.0v
  • 1000mAh
  • discharge plug: small Tamiya
  • charge/balance plug: JST-XH
This can be upgraded with the following battery and adapter.  The battery is 2 grams lighter, and holds a charge of 1300 mAh.  No modifications to the batteries or parrot are necessary.
The battery can be charged at up to 2.6 amps.  This charger is cheap and will go up to 2.0 amps:

Custom connectors

CheapBatteryPacks.com builds custom wire/connector sets to order. Their selection menu is a great field guide to connector types!

Tuesday, January 25, 2011

Lots of doo-dads and containers

American Science & Surplus : Containers: "Itty Bitty Zipseal

Zipseal plastic bag of the size gnomes use to store leftovers. 1' sq, 2' sq, 2' x 3' or 3' x 4' (our each come in bags of 100 count), clear polyethylene (the 2' x 3' 27906 has a white strip across one side, 36562 does not.). Store rings, small rock samples, biology parts, and model pieces. Great for cleaning up behind your Guinea pig when you take him for a walk"

MultiWii

MultiWii: "MultiWii is a general purpose software to control a multirotor RC model. It can now use various sensors but was initially developed to support Nintendo Wii console gyroscopes and accelerometers. We can find these sensors in the extensions of the Nintendo WiiMote: Wii Motion Plus and Wii Nunchuk. This project was an opportunity to develop my own software on an Arduino platform. The achieved stability is excellent for FPV and allows any kind of acrobatics.

The software is for the moment able to control a tricopter, a quadricopter or a hexacopter. The tricopter mentioned in this article is mainly is the first tricopter I made, based on a fiber structure. The structure was reinforced with carbon/kevlar fiber. Some LEDs were also added for a better flying visibility."

GoldGuy's hints for fixing flex

http://www.rcgroups.com/forums/showpost.php?p=17193818&postcount=1163 
  • make a crossbar
http://www.rcgroups.com/forums/showpost.php?p=17195670&postcount=1165
  • sharpen 1mm CF rod with 80 grit, use it as a needle to poke through the wing.  push all the way through, trim, use sharpened end for next spot.  put at end of wings and horn.

Thursday, January 20, 2011

A nice place to fly: Hexacopter in Cameroon / Africa on Vimeo

A nice place to fly: Hexacopter in Cameroon / Africa on Vimeo:

"FPV flights of my Shrediquette MM6 Hexacopter in Cameroon, West-Africa.  Details on the copter: shrediquette.blogspot.com/​p/​shrediquette-mm6.html A Deshaker was used for most scenes, as there was always some wind."

Push Rods Revisted

Filling in a bit more of what I have learned about micro pushrods.

  • For small flyers, the reference standard seems to be the Du-Bro Micro Pushrod System #852 (30" x .032"):
New Du-Bro Micro Pushrod System. (2) 30"x.032 pushrods, (2) 30" pushrod housings and (2) micro E/Z Links and (2 Mini E/Z Connectors. Great for indoor and park flyers! 2/pkg.
  • The EZ links are: Mini E/Z Connector (Cat. No. 845)
  • Hobbyking links come in 1.5mm and 2mm.
  • The EzFly kit comes with 1.5mm carbon rod, 4 wire z-bends, and heatshrink.
  • Heatshrink z-bends to the carbon rod, and heat.  Put a drop of CA and allow it to wick into the heatshrink
  • Don't try putting the z-bend in the center of a hollow rod, it won't stick.
  • You can use a z-bend on both sides of the push rod.  Center the servo, align everything, and heatshrink the z-bend in place.  Once you're convinced everything is properly aligned, Apply CA.
  • Somebody uses TIG welding wire for the rod.
  • A lot of people use 1/32'' (almost 0.32) piano wire.  These need to be fed through a housing to maintain stiffness.  Attach the housing to the plane somewhere.
  • The z-bends can be made from a paper clip or .072 piano wire.
  • For a housing, try plastic coffee stirrers. Heatshrink together if you need them longer.
Push Rod Weights
  • 1.5mm CF
  • 2mm CF
  • 3mm hollow CF
  • 1/32'' piano wire
  • z-bends
  • heatshrink
  • coffee stirrers

Wednesday, January 19, 2011

Some nice aerial videos

KapteinKUK
Dadde87
Gabriel2584
muni86 Trappy 
mh:  much more modest!
   

KKmulticopter links

"The KK multicontroller can be used on KKPowerTower/Osprey (2 rotors), KKTriCopters (3 rotors), KKQuadroCopters (4 rotors), KKSexyCopters (6 rotors) and the Y configuration KKY6copters (with 6 rotors). The KKmulticopter project was started by Rolf Bakke aka KapteinKUK, and the KK in the name of the project is in his honour."

Home of the KKmulticopter:

RCGroups thread here.

Korean vendor: http://www.kkmulticopter.kr

and Dadde86 is selling assembled boards: http://www.rcexplorer.se

UFO Camera quadrotor

YouTube - ufocamera's Channel

High end AP platform, 10K euros for aircraft, 18K euros including downlink, control, and camera stabilization.

Hacking the I2C interface of Spektrum DX and AR ?

RC-CAM Forum: "The Spektrum transmitter has a small daughter board in it that contains the Unigen RF module, a voltage regulator, and a host microntroller. The microcontroller is used to measure the PPM signal from the transmitter's encoder and convert it to a three-wire (I2C) communication signal so that it can talk to the Unigen module. ...."

Heavy-Lift HexaCopter

KapteinKUK posts on RC Groups:

5.2kg payload:
25.51A per motor, 153A total
272W per motor, 1632W total

Quad 016.jpg by Mikro - RC Groups

Quad 016.jpg by Mikro - RC Groups: "Here's my Q4 frame side by side with my new quad. It's about 2 inches longer on each arm. The kicker is that they weigh about the same, and the Q4 costs ~$350 and my design costs $40!"

Tuesday, January 18, 2011

Matt Gunn Aerial Photography

Matt Gunn is an Atlanta base photographer that's doing RC-based aerial photography.

"But only in the last 5 years have relatively inexpensive radio-controlled helicopters become large and stable enough to carry the weight of the heavy digital SLR cameras. With advanced automatic stabilization systems and GPS positioning, a purpose-built aerial photography helicopter can hover virtually motionless while a camera operator looks through a monitor and sees what the camera sees. This allows for extremely precise photography at a fraction of the cost."

Check out his site... he's got some interesting detail and really nice example of what RC-based Aerial Photography can do.

Monday, January 17, 2011

Saturday, January 15, 2011

Great deal on Blenderm tape

Shop 3M: 3M Blenderm Tape 1525-1:

12 rolls for $15.75 + $4.00 shipping.

"3M™ Blenderm™ Tape 1525-1
1 inch x 5 yard (2,5cm x 4,5m) Clear, occlusive plastic, hypoallergenic medical tape"

Tuesday, January 11, 2011

Piranha and Homemade 3S 240mAh lipo battery

Mike at Concord Model Engineers had a nifty little indoor combat flyer, christened the Piranha.  I stupidly didn't take a picture of the plane, but it's in the background.  I'll take some more pictures at the next CME indoor fly... I want to build one!

Stats as I recall them: 24'' wingspan, 3oz. (!) 6mm EPP, 2.5g servos, HK AP05 motor, 5x3 prop.

Mike builds his own small, lightweight 3S batteries out of ZIPPY 240mAh 20C single cells. He solders the three cells together, tab-to-tab and attaches a mini-JST connector.  It looks like lightweight medical tap holds everything together, and attaches velcro as necessary. Zoom in to see exactly where the tabs are being soldered.  He doesn't bother with balancing.  Battery weight: [[[???]]], contrast with Turnigy Nanotech 3S 370mAh at 39g.