Well I finally got all my stuff together and put together my OPQ. I'm not wanting to boast (hmm actually I do!), but it is a genuine Crash Hancock Signature Edition!
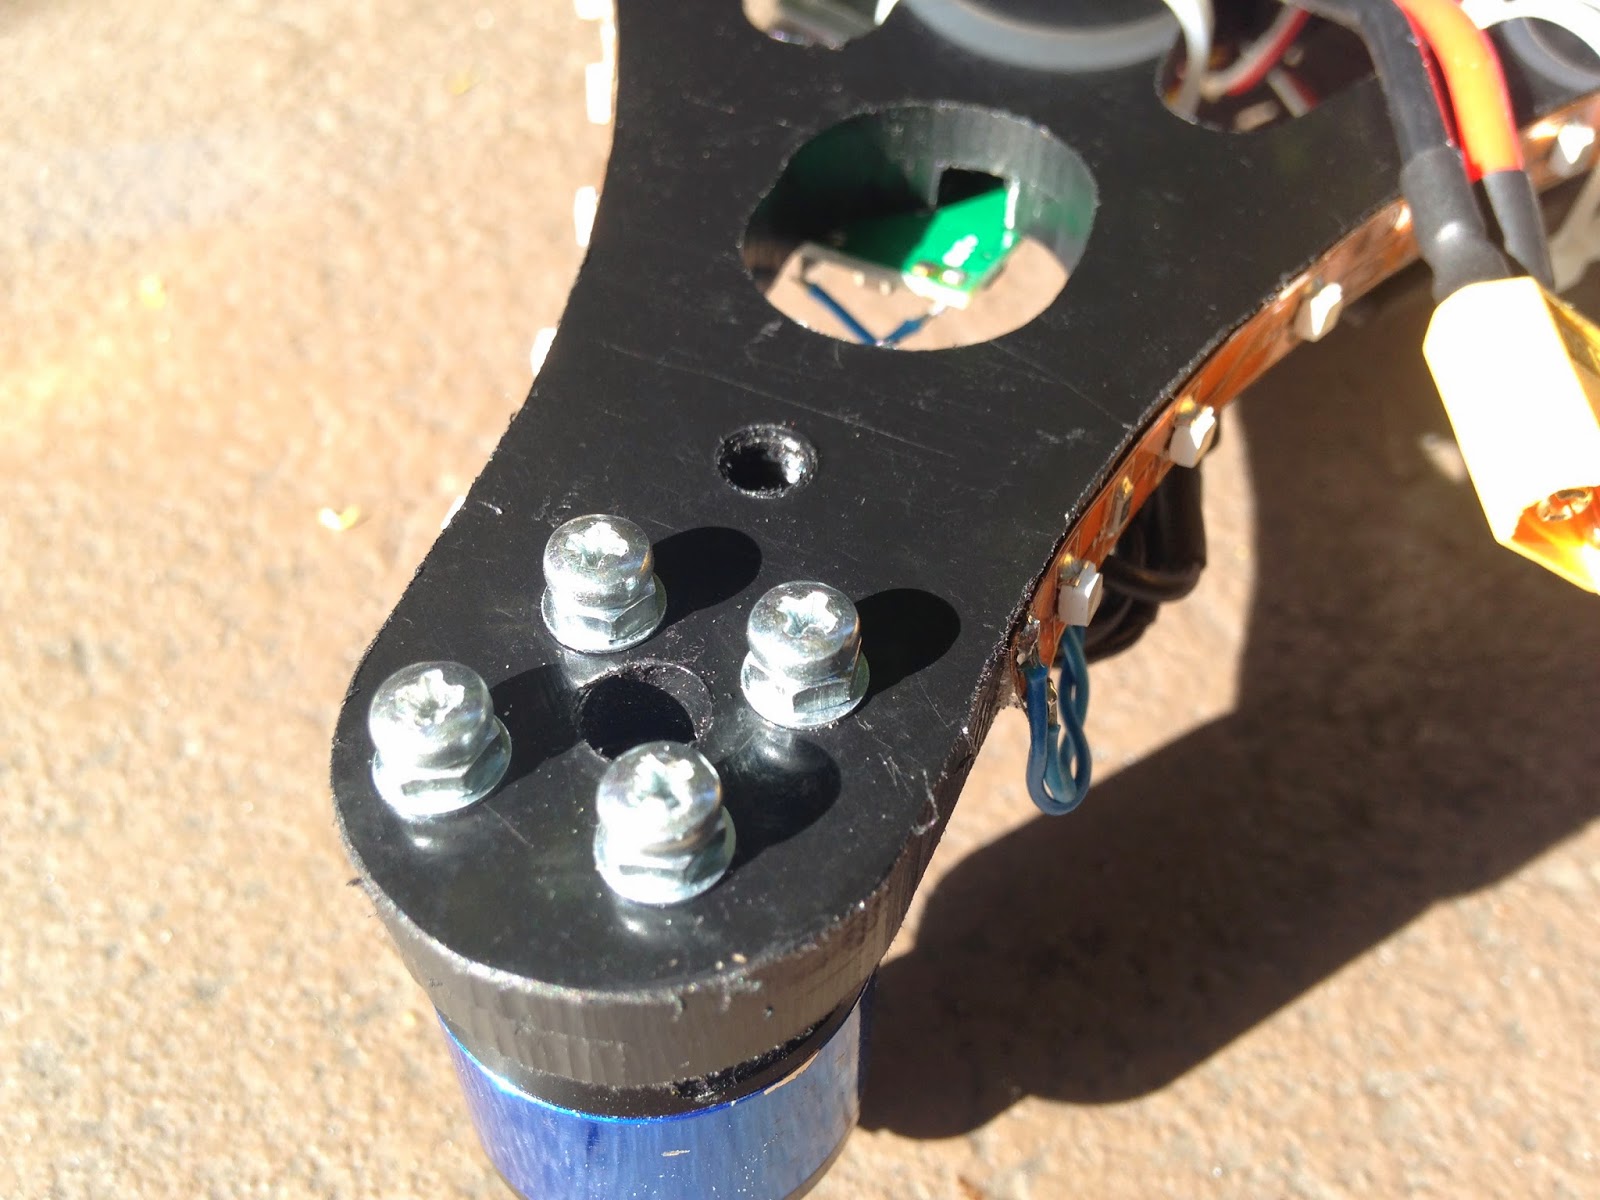
The new OPQ models have nice mounting slots. This early model didn't, so I had to drill my own mounting holes.
It was easy enough, just clamp a motor mount onto the arm and use it as a drill guide.
I make a bit more clearance for the bottom of the motor.
Looks good! I understand why people enjoy working with delrin.
Here's the final mount. That motor's not going anywhere! Not shown: two of the arms were a bit off, so I just used two bolts. They still look rock solid.
It was handy to have some metric sized drill bits to get the exact size holes. I wish Amazon had better deals, or that HobbyKing or somebody would carry metric drill bit sets. I bought this set from a tiny shop in the Akihabara district of Tokyo that specialized in all kinds of electronics and small machine tools.
I screwed the power distribution board onto the top. It was nice and flat, so no problem to mount the flight control board on top.
Black on black with black trim looks cool, but might be a bit hard to see in the evening! Here's some lights.
The lights look good outside, but are a bit bright. I'm going to wire them to a brushless motor controller so I can adjust the light while flying.
Ethernet wire seems to be great for wiring LEDs.
I'm trying this 3M Dual Lock for attaching the battery. It's super-strong and has a nice clean "snap" when it connects. (update: way to strong, you have to give a King Kong yank to pull the battery off. But it's great otherwise... I'm going to try trimming the piece down so there's a smaller surface area and see if that's better. If so, I'll try it on some other air units.)
As soon as I get around to it, I'll shorten all wires to eliminate the clutter.
Flying with a Flip 1.5. Forcing myself to be a better pilot who doesn't rely on a bunch of sissy autopilot stuff!
Hot glue seems to work well for insulating the LED strips.
I tried this voltage converter for the dimmer, but the adjustment was pretty rough.
Part 2 coming up, it's a sweet flyer!
blogodex = {"toc":"The One Piece Quadicle","index":["opq","builds","Crash Hancock", "CrashCast","The Fleet"]};
They were talking about airplane storage on the Crashcast. I've had great luck with this "Hanger" (get it? Hanger, Hangar?). I had some old wire that I bent into holders for each of the planes.
I needed to take my headset when I was a guest on the show. The charming Mrs. EastBay RC takes care of everything!
So Crash Hancock recently issued a cheapie quadcopter challenge. He did a great job on a cheap blue wonder based propulsion system, and of course the $15 flip control board is the obvious way to go.
He ended up paying less than $10 for the frame parts... quite good, but it occurred to me you could do better. While mulling this over and trying to think of cheap arms, I happened to notice some rulers in our office copy room.
Eureka! They were just the right length, and using some jumbo clips held them together nicely. I had some a zip tie sitting around, so after clipping everything together I wound a zip tie around everything. As you can see, it makes a very stylish looking X copter, with about a 30 second build time! Surprisingly, it's a very stiff frame, and very crashproof (I think), since everything will just pop apart, ready to be reassembled.
I was planning to screw the motor mounts onto the arms, but it occurred to me that they would look pretty odd when I returned them to the supply cabinet. No problem, a couple of more clips hold the motor perfectly. And several cents saved on fasteners! As soon as I get some more motors and a flip controller, I'll finish it out. Until then, everything back into the cabinet, ready to be reassembled!