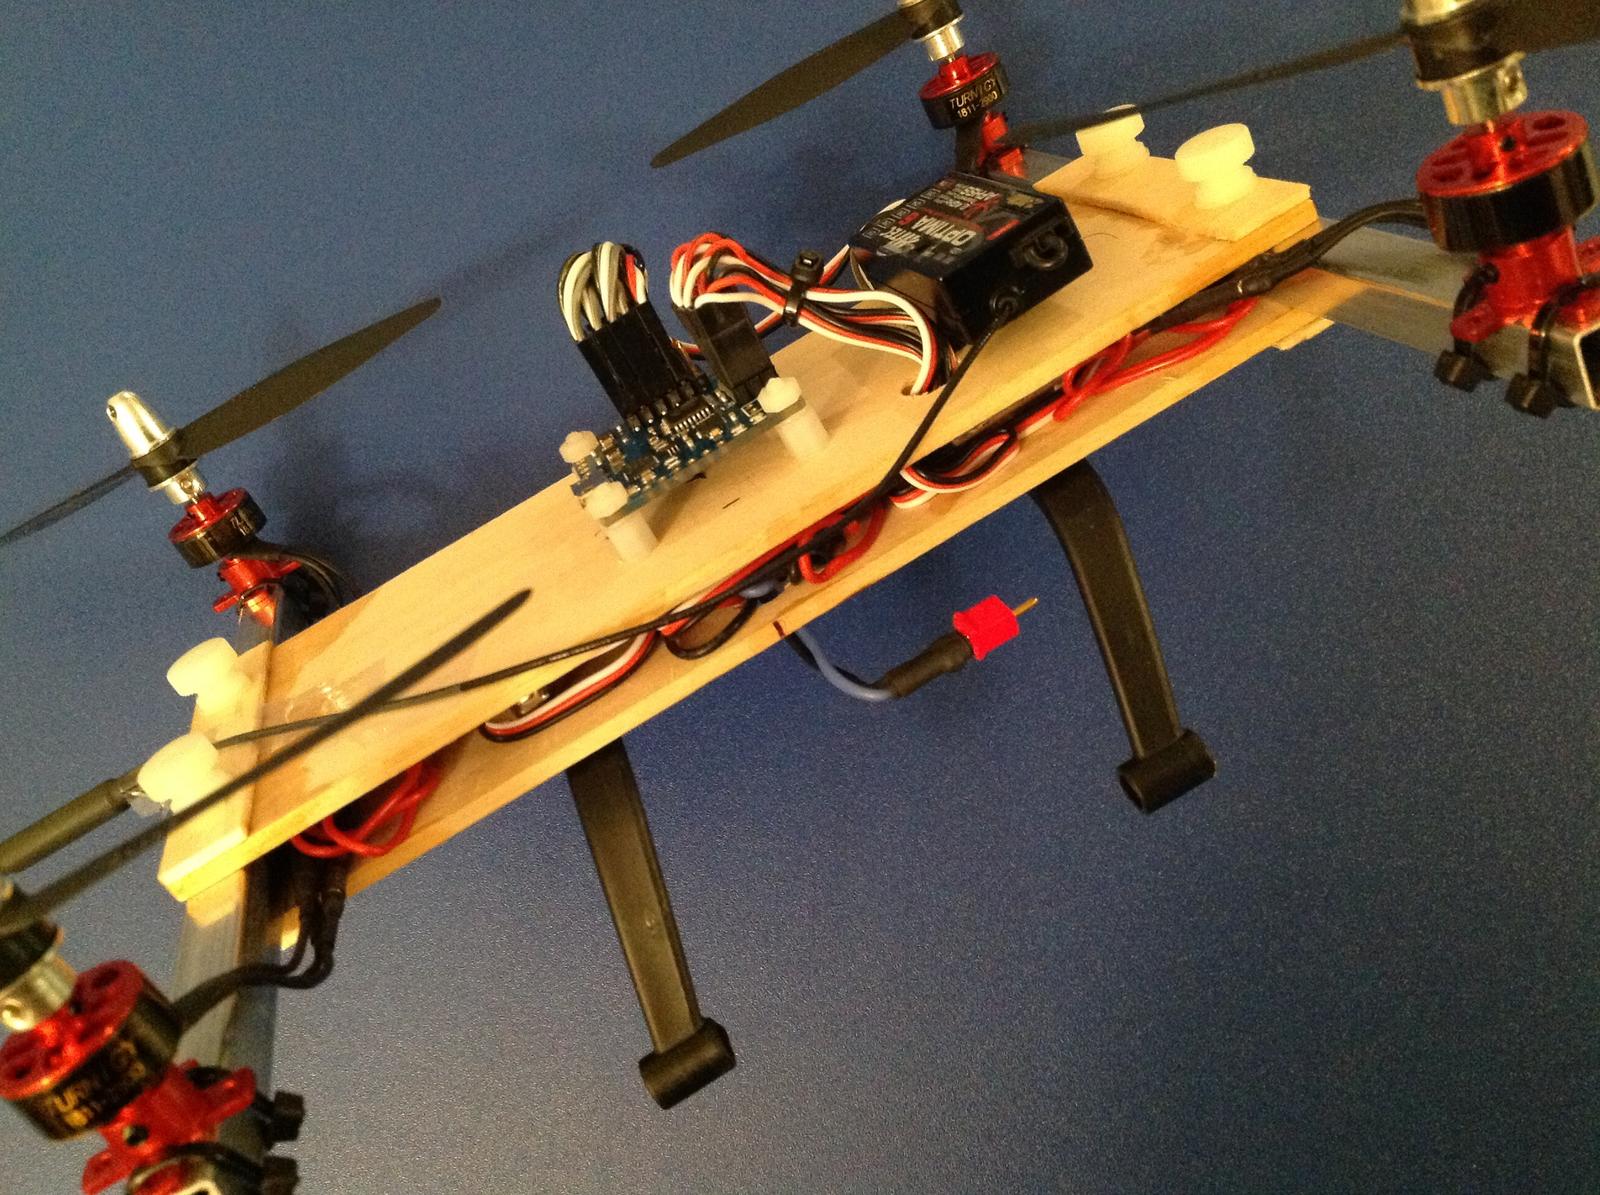
For Lemon Rx 8 channels receiver, failsafe is available for all channels and some user may found it useful (for robotics application or UAV).
When bind plug is still plugged after successful binding, pressing the mem. button will cause the receiver to memorize all channels settings at the time the button is pressed for use in failsafe. If the failsafe is enabled correctly, green light should be on at the bottom of receiver. Press mem. button again while bind plug is plugged will cause the green light to turn off. This indicate the failsafe mode is disabled. Take the bind plug out before flying! Even in the event of power disconnected, failsafe settings are still saved and will restore to its functions accordingly when power is provided.
About failsafe enabled: When the primary receiver and satellite receiver is unable to detect any RF signal for continuous time interval of approximately 3 seconds, all channels will be restored to the saved setting. At this point the receiver will try to find valid RF signal. If valid signal is detected, the receiver will use the valid signal immediately.
About failsafe disabled: When signal is lost for continuous time interval of approximately 3 seconds, all channels will have no output (all outputs are pulled to ground). If you don't like failsafe, make sure green light is not on before flying!
We aware that most people use CPPM/PPM for Adurino application, which is mostly used in quad-flyer or robotics.
We had actually implemented CPPM/PPM sum output for 8 channels receiver. However CPPM/PPM sum is just too rough and troublesome for quad or drone application (including resolutions / number of channels/easy of implementation/ delays..etc.).
It maybe better to switch to HUART which is currently available for 8 channels in the long run (high speed UART, 115200bps, 8N1). Use Adurino to read the HUART data directly. If you can check out our website, we have already simplify as much as we can for easy integration for Adurino or other embedded system application.
Andreas and I went flying this morning, and were seeing how close-in we could navigate. Turns out closer than we thought! Amazingly, total damage was one prop tip sliced cleanly off.
Direct from the manufacturer in lovely Woodland, CA... they build em, they sell em! As you'll probably guess, they're prop builders and not web page designers. http://www.apcprop.com/v/index.html
sparrow1717 shares his design in this RCG thread and provides these notes:
10mm SlowStick aluminum fuse for arms
5in props
WMC FLIP FC
12 amp escs
2900 kv motors
2S 1000 mah batt
240 mm span
170mm motor to motor
7oz AUW
"I went with the H layout for ease of build and extra surface area for carrying cams or whatever. Try to build as light as you can. Weighing in at 7 ounces my quad flies quite spirited on 2S. As far as the frame spacing . I decided something close to 250mm diag spacing as this seems to be a popular size for 5 in props. I finalized at 170 mm from motor to motor.
Optimized interrupt handlers to minimize servo jitter.
The Aux input is no longer just on/off. It controls the gain for the stabilization correction from 0% (full off) to 100% (full on) and anything in between.
The reverse switches are no longer needed to reverse the correction. Thus they are available for other functions.
The gain controls function differently. The 12 o'clock position is 0 gain, counter clockwise from 12 o'clock adds correction in one direction, clockwise from 12 o'clock adds correction in the opposite direction. Thus no longer a need for reverse switches.
Adds Attitude Hold to allow the current attitude to be maintained.
Snapped from a video interview with DJI CEO Colin Guinn at NAB 2013. Most of the talk was about their new brushless gimbal, but what caught my eye was the blade guard on one of their upcoming models. I might try making something like this for the Arcticopter!
The Walkera RC Magic Cube MTC-01 V2. Can be plugged into trainer port, and also has an iphone android app. On sale at Hobby One. Review and binding instructions here. Notes on the app here.
You can use the mtc-01 on your 9x and I have flown my ladybird using it with stock 9x firmware. but you have to reverse some channels. I recommend you upgrade the stock 9x firmware to er9x, because on the stock 9x firmware the elev and aile channel is swapped and there is no way you can change it with stock firmware. With er9x you can easily change it.
And compare these to the Movi, now getting a lot of discussion in the camera world. Even at $15k the equipment it replaces makes it an attractive platform.
hdr len seq sys cmp id payload (len 9)------------------ crc--- 0 1 2 3 4 5 6 7 8 9 a b c d e f 10 FE 09 4E 01 01 00 00 00 00 00 02 03 51 04 03 1C 7F
Fixed Header (6 octets)
0. packet header, always 0xFE
1. message length (9)
2. sequence number -- rolls around from 255 to 0 (0x4e, previous was 0x4d)
3. source system - what system is sending this message (1)
4. source component - what component of the system is sending the message (1)
5. message ID (0 = heartbeat) Variable Sized Payload (specified in octet 1, range 0..255)
06-0e. payload Packet Checksum
0f-10. CRC25
In common use (single aircraft, single autopilot), source component and systems will be (1,1)
Here's some notes on elevon mixing with er9x. It's pretty simple once you know the basics. Here's some background on how elevons work. Check out the calculations page... I think it's the only page on the Web with the mixing formulas -- at least as far as I could find!
Here's the mix. The right and left elevons are on channels 2 and 3, respectively. Note that the +/- values of the mix will be determined by the servo installation, so follow the technique on the video to make sure nothing is reversed.
You have a couple of choices to enhance the strength of the wing spar.1. Drill (see 1a) out the spar hole and put in an 8mm CF.1a. To make a "drill", wrap and glue a piece of 80 (or60) grit sandpaper on the end of a 7/16" dowel rod and drill out the spar hole - takes about 30 seconds.1b. Install new 8mm CF spar with the old 6mm spar slid inside it.1c. OR - put 3-3mm CF tubes inside the new 8mm spar.2. Almost as good - Put a 4mm CF tube and a 3mm tube inside the existing 6mm stock tube.
This post is mainly for my own convenience, listing out the software I've downloaded to do thing 3D-printerish.
MakerWare -- driving the MakerBot (update: ReplicatorG is better, use it)
ReplicatorG -- an open source alternative to MakerWare
SketchUp -- for drawing objects
OpenSCAD -- for programmatic generation of objects
Sketchup STL import/export -- plugin to import/export, here. (update:If you get an error on import, it's most likely that your plugin directory is not writable.)
Here's one that even stronger... the 10 inch prop requires you to cut into the tail boom a bit. Andreas and I are hoping that the extra power will be worth it when it's full up on FPV and autopilot gear.
(note: this motor has a limit of 32 amps, and as configured it hits 30 amps on the bench... be forewarned!)
BTW, regarding servos... you need 6 if you do the flaps. I'm pleased with these. If your radio can handle the mixing, you can use two channels for the flaps. Otherwise, get a servo reverser.
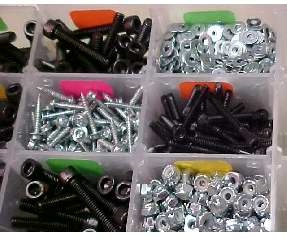
RTL Fasteners has a great collection of metric fasteners at what seems to be a pretty good price. Way better than the local hardware store, where they seem to believe that M2 and M3 fasteners are made from 24K gold! The have a giant super-pack as well.
Here's the Small Parts motor mount extension I got for the Bixler 2. It's rated for up to 9 inch prop, but following Andreas' lead I trimmed a notch in the Bixler tail and fit a 10 x 4.7. It draws 30 amps off a 3S battery.
HK now has a similar mount... no idea how it works, but it's certainly a bit cheaper.
Some notes on HD keychain cams. #16 v2 seems to be the good one. eletoponline365 seems to be a good vendor. The "D" lens seems to be popular for FPV coz it gives a wider field of view.
Cheap GPS hackery here. Very interesting, and it can save on some projects. Ebay searchage for "U-blox PCI-5S" and "GPS Ceramic Internal Patch 1575.42MHz Antenna 20x20x7mm" about $15 combined!
I do a lot of construction and repair with Beacon Foam-Tac. It's safe on all kinds of foams, doesn't have stinky fumes, dries quickly, doesn't yellow, and maintains a rubbery, resiliant quality.
I broke off the nose of my F-22 yesterday, and thought I'd document the repair. EPP foam is great for this kind of disaster. I applied the Foam-Tac to one surface, mashed and unmashed the surfaces together, let dry for a few seconds, and made the final join.
In under an hour the joint is firm. I think the directions say to let it cure for 24 hours for maximum strength. As you can see here, it's nearly impossible to see the repair line.
Here's a video of the process. Made with my new downshooter!
Here's my new downshooting rig! It's always been a serious pain to set up a tripod on the workbench to shoot, because it takes up all the room on the workbench! I saw this instructable, and here's my version of it. The clever bit is using the two linked pipe clamps to make the 90 degree connector for the boom.
I followed the instructable pretty closely. I used 1 inch dowels for sturdiness, and didn't bother embedding the tripod mount, since I've got an iphone tripod mount already. Instead of using wire to attach the camera holder, I just cut the dowel and used glue. I liked how the instructions for aligning the iphone brackets use the iphone itself, wrapped in a plastic shopping bag, which doesn't stick to the epoxy.
Here's a shot showing how I cut and glued the camera bracket. I used PU glue (white gorilla glue) which was quick and filled up the gap from my crooked cut.
If the shaking is too bad, I'm going to mount the leftover bit of dowel as shown here (using two more pipe clamps) and brace the rig against the wall. Hopefully that won't be necessary.
Here's a still shot. The still camera has a wider viewing angle than the video.
Note: the camera was in portait mode, so I had to rotate this and the following pictures. Be sure and put the camera in landscape mode if that's how you want to shoot.
Here's a shot where I was bumping the table. It seems it may not be as much of a problem as I had feared.
Here's a shot while the rig is vibrating up and down. Even with this, there's only a little distortion.
And a shot while the arm is oscillating side to side. I gave the rig a pretty strong tug, far more than would ever be caused by a simple bump. Watch this in the video, it's pretty alarming!
Overall, it looks like it might work pretty well, at least based on this first impression. Here's a video showing the rig and taking some test videos.
Here's an interesting idea... a pendulum-style camera mount, where the weight of the camera is counterbalanced by the weight of the battery. I've found two models, both of which have lots of videos and details at the links.
Ordered this upgrade kit, designed by wphthomas and packaged up (with permission) by scvette. Looks like a lot of people (including Bre) are saying nice things about this.
I recently experimented with some different print settings and thought I would share my findings. Mostly with black PLA, though the final part was in red.
240 deg / 60 extruder speed - the print starts getting messy. I can see the extruder pushing around a lot of mush. Too hot, IMHO.
240 / 80 - filament gets very thin. Feeding seems to be struggling to keep up. No bueno. Ended up going with 230 / 60, my tried and true settings for print you see in the attached picture.
If anyone else is making large, flat prints, you know they can be really frustrating to get off the build plate. So I picked up a plastic putty scraper at Home Depot. It now lives by the printer. Go slow and keep the putty knife flat to the plate to avoid snapping your part in half (not that I would know).
At last night's meeting of the Concord Model Engineers, Ding presented a model he was working on, and gave some pointers about how to cut spars and assemble wings. He cuts a template from aluminum with snips and files it to shape, and then cuts around the template.
He brought this model he was working on, building from scratch without plans. It was so nice looking I took a couple of snaps with my phone cam. I was so struck by not just the impeccable craftsmanship, but the beauty of the frames.
The final model will be in a contest where the minimum weight is 40 grams. Ding is shooting for 35 grams, so that there will be some leeway for repairs.
There's some pretty impressive modellers in the CME, many with decades of experience. Ding gets a lot of respect from these guys, as you can imagine.
I put some LEDs onto the ArctiBaby, hoping to make orientation a bit more visible. Here's the 2S connector for attaching to the battery. I put an 82 ohm on the wire, which split to 4 power wires to each of the LEDs. I'm using 28 gauge servo wire.
Here's my mockup to make sure I was getting the circuit right. I put one resistor in series with four parallel LEDs. I'm going to ask some gurus if that's the right thing to do, but it seems to be working.
Here's how I attached the wiring. I zip-tied the end of each wire (where the LEDs are) to the end of each arm, with the LEDs pointing out. The front had two 5mm frosted amber LEDs, and the back had two 5mm clear reds. I put some scotch magic tape over the reds to get some frosting effect. It didn't work very well.
Here's the final result. I'll give it a try tomorrow and see how the visibility is. Right off the bat I can tell you that amber/red is a pretty poor color combination for orientation differentiation.
I was using my jumbo 500 random LEDs for $2 package. About 90% of the LEDs are red, and most of the other 5mm LEDs were amber. There were a few tiny (2mm?) green LEDs. So that's how I picked the color scheme. I've ordered some 5mm frosted blue LEDs; I'll replace one color or the other and see if that makes it better.