I've configured the PSU I got a while back. This is needed for the 5.8GHz video transmitter from Range Video.
It was pretty straightforward to assemble. I put a JST connector on the input and output, desoldered the 12V pad, and soldered the 3.3V pad. I wrapped the whole thing in a 3/4'' shrinktube, but a 1/2'' would have been better.
I'm not sure what the signal line is for.
Showing posts with label build-log. Show all posts
Showing posts with label build-log. Show all posts
Sunday, April 15, 2012


Thursday, March 1, 2012
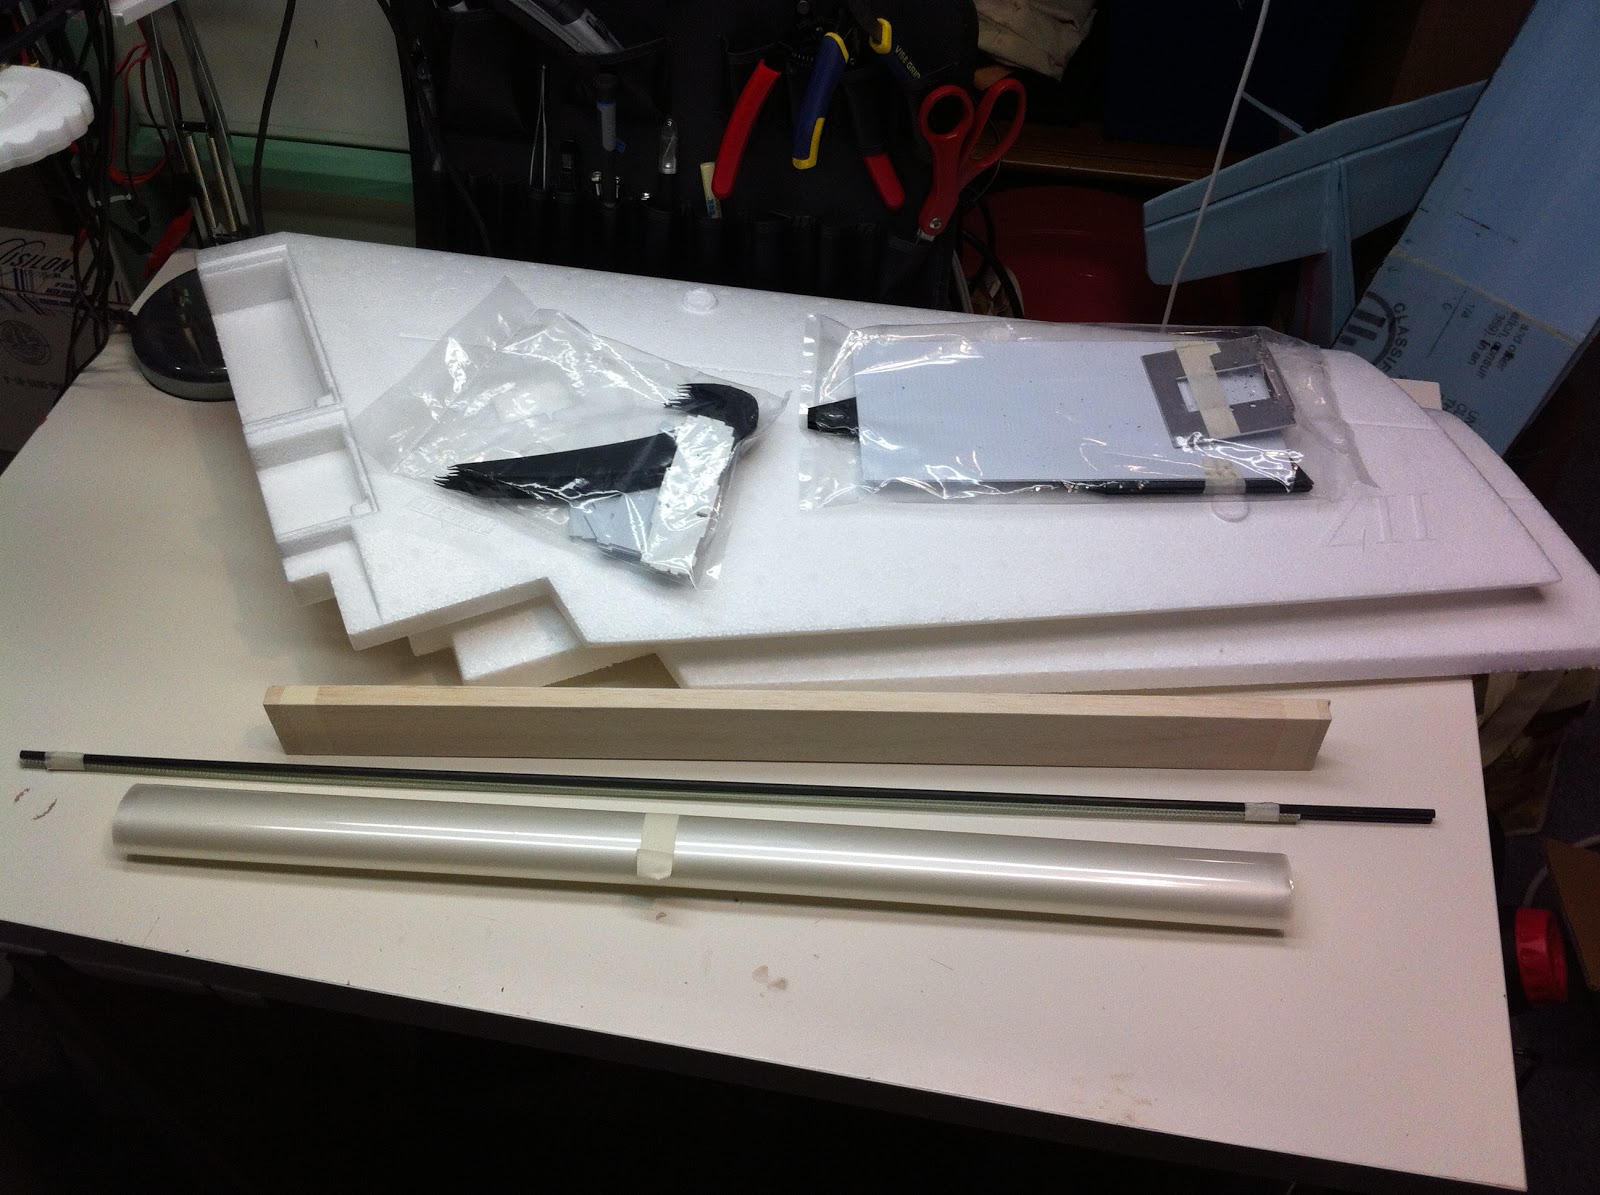
Kicking off the Zephyr II build!


Saturday, February 5, 2011
Arcticopter I build log 1 -- getting started
Josh came over today, and we sat down to get the build kicked off. We spent some time going through the parts, various technical minutia (difference between DD and SF props, motor and ESC wiring, etc). Soldered an ESC and motor.... Josh got some great pics, I'll get them from him later and post. For now I'll fill in with vendor photos. Here's some build notes:
 Battery Charger and Power Supply
The charger looks pretty nice... it's basically 4 individual charges in one case. It comes with one set of wires and balance connectors. We'll try these out and make some more as necessary. I think we'll make them with long wires (todo: ask rcgroups if there's a length limit) so they'll be easy to route to a lipo bag.
The power supply is cheap, but isn't particularly well reviewed on HK. People have mentioned that the soldering is dodgy; We'll open the case up and check it out. For now it's fine, but we might get a different unit for Josh to take.
Gave Josh the safety and maintenance story on lipos. He's going to need to transport these things to some remote locations, so he asked a bunch of questions about that, which I mostly didn't know the answer to.
 ESC Prep
Prepping is a bit different than for planes and other single-motor units. Don't solder connectors in the usual way. Instead, figure out what you're doing for power distribution and prep the power input leads accordingly. I totally went into automatic soldering mode and was ready to attach 4mm bullet connectors. Fortunately, 4mm bullets are backordered, so we stopped there.
 Intead, we're going to wire the battery to a pair of 5-wire WAGO connectors, and connect the ESCs to the WAGO connector. So, the ESCs just need to have the power input leads prepped and tinned.
Motor Prep
 We soldered connectors onto one of the motors. Everything comes with the motor. The heatshrink oddly seems to be one size too small to conveniently fit over the bullet connectors. There's lots of bolts, an extra shaft, and what looks like two different prop mounts. We'll take a look and figure out what needs to be done to get this flyable and put that in a separate post.
 LED Strips
We got two kinds of LED strips -- regular and waterproof. The waterproof strips are encased in heavy clear plastic. I ordered the waterproof to see what they were, and because they were cheaper than the non-waterproof. Don't get them for anything that doesn't really need to be waterproof.
 We're going to try operating them by running a wired ESC to the receiver and controlling the brightness via the radio. I'll make a separate post detailing that. One thing to figure out: where to pull the power from. LEDs don't take much, so we might pull it from the main battery. If we end up with two power systems (one for the camera controls), perhaps we could pull it from that as well.
 Turnigy 9X Radio: Total Fail Edition!
These things are constantly on back order, so I was amazed when Josh's unit shipped almost immediately. That's because I screwed up and ordered Mode 1! HK is on Chinese New Year break, but I'll contact them about returning it. In the meantime, I've gone ahead and put in another order, so we'll be in the queue. Will I get it right? The suspense continues, check back later to see!
Other than being mode 1, it looks pretty good... nicely made, smooth controls and a nice feel. We didn't bother testing the range since we'll be returning this unit.
Things to do in the next week
We've both got some time in the next couple of evenings, so we'll try to get all the electronics prepped in anticipation of getting the kkcontroller and frame.
The charger looks pretty nice... it's basically 4 individual charges in one case. It comes with one set of wires and balance connectors. We'll try these out and make some more as necessary. I think we'll make them with long wires (todo: ask rcgroups if there's a length limit) so they'll be easy to route to a lipo bag.
The power supply is cheap, but isn't particularly well reviewed on HK. People have mentioned that the soldering is dodgy; We'll open the case up and check it out. For now it's fine, but we might get a different unit for Josh to take.
Gave Josh the safety and maintenance story on lipos. He's going to need to transport these things to some remote locations, so he asked a bunch of questions about that, which I mostly didn't know the answer to.
- Turnigy Plush 12A ESC
- WAGO 222-415 5-wire connector
Prepping is a bit different than for planes and other single-motor units. Don't solder connectors in the usual way. Instead, figure out what you're doing for power distribution and prep the power input leads accordingly. I totally went into automatic soldering mode and was ready to attach 4mm bullet connectors. Fortunately, 4mm bullets are backordered, so we stopped there.
Intead, we're going to wire the battery to a pair of 5-wire WAGO connectors, and connect the ESCs to the WAGO connector. So, the ESCs just need to have the power input leads prepped and tinned.Motor Prep
We got two kinds of LED strips -- regular and waterproof. The waterproof strips are encased in heavy clear plastic. I ordered the waterproof to see what they were, and because they were cheaper than the non-waterproof. Don't get them for anything that doesn't really need to be waterproof.

These things are constantly on back order, so I was amazed when Josh's unit shipped almost immediately. That's because I screwed up and ordered Mode 1! HK is on Chinese New Year break, but I'll contact them about returning it. In the meantime, I've gone ahead and put in another order, so we'll be in the queue. Will I get it right? The suspense continues, check back later to see!
Other than being mode 1, it looks pretty good... nicely made, smooth controls and a nice feel. We didn't bother testing the range since we'll be returning this unit.
Things to do in the next week
We've both got some time in the next couple of evenings, so we'll try to get all the electronics prepped in anticipation of getting the kkcontroller and frame.
- balance props and motors
- solder ESCs and motors
- test out WAGO power distribution
Saturday, July 17, 2010
Saturday, July 3, 2010
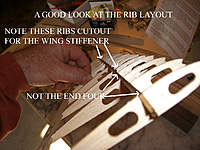
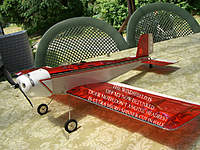
Superfly Build Log
Here's how I built my SuperFly. I am a total beginner -- I've got a DX6i radio, and have been practicing on FMS and RC DeskPilot. I've got pieces coming from HobbyZone (receiver), SuperFly (the actual plane), and HobbyKing (servos, batteries, ESC).
7/2/2010
Here's everything I bought so far for this plane. Things marked (**) aren't specifically for this plane but are "generic" items.
7/2/2010
- Received plane kit along with tube of Welder's Glue. I emailed SuperFlyRC and they arranged to combine shipping. Otherwise, their online shop bumps ground shipping from $10 to $20. Still waiting for HK and HZ shipments to arrive.
- Got low-temp hot glue gun from Amazon. Ordering wiring-quality soldering iron.
- do I need battery connectors? have to see how the HK stuff arrives.
- is it normal to solder the motor to the ESC?
- have a mailing list for superfly owners.
- sell an "everything you need" kit that includes batteries, connectors, etc. You can have a high-end and low-end version of this kit.
- List detail for "complete hardware"
Here's everything I bought so far for this plane. Things marked (**) aren't specifically for this plane but are "generic" items.
- Spektrum DX6i transmitter, $150 (**)
- USB cable for DX6i, to use with sim, $12 (**)
- Battery Charger [HX8080], $24.95 (**)
- ESC programming card [TR_PC], $6.95 (**)
- Receiver [AR6110] $50
- 2 servos [TGY-2216MG], $18.90 each
- ESC [TR_B18], $14.99
- 2 Batteries [T1300.2S.20], $6.29 each
- Kit, including body, motor (Towerpro 21), prop (GWS 8x6), rods (2), control horns (2, size 1/2A)
Subscribe to:
Posts (Atom)