blogodex = {"toc" : "Blu Baby", "idx" : "Wing"};

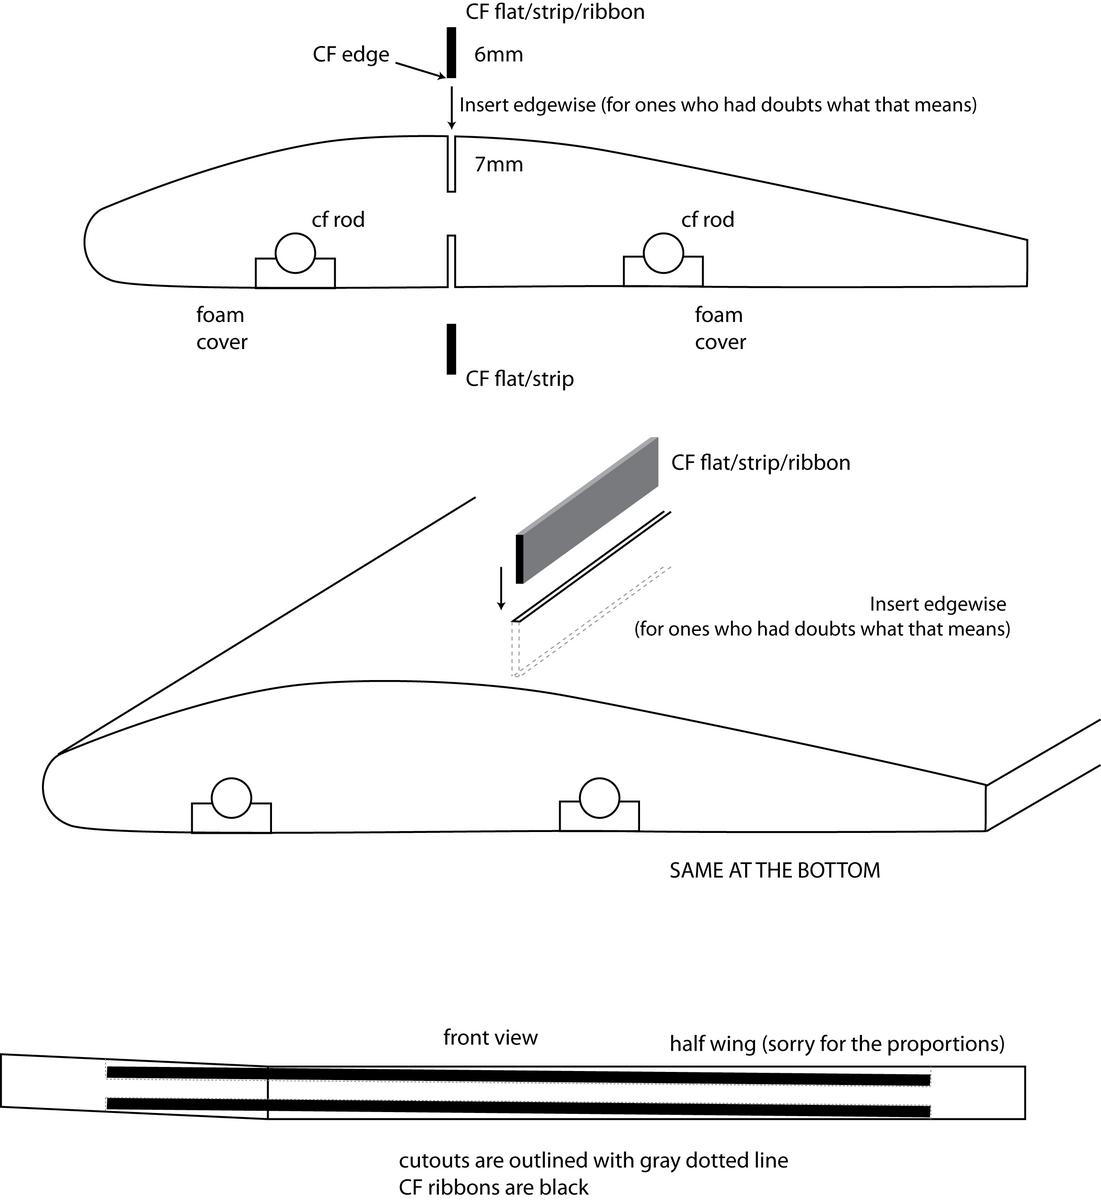
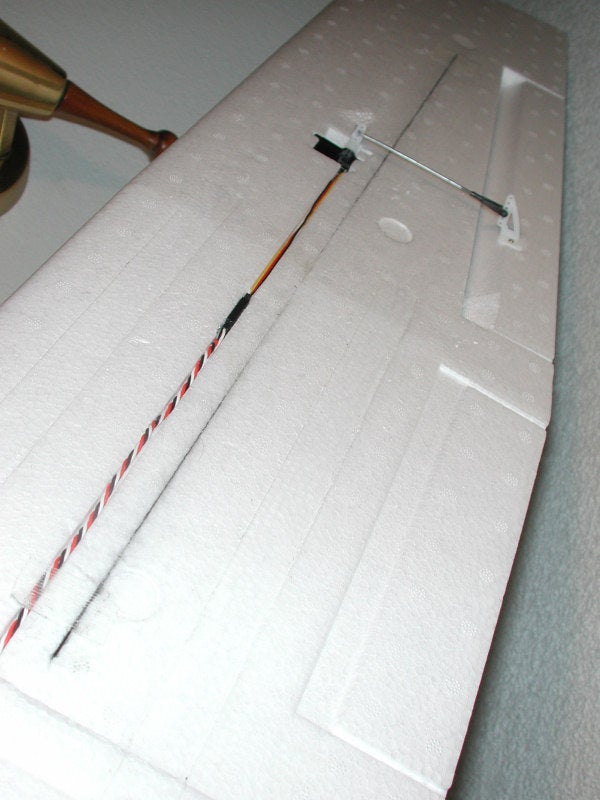 (.8 x 6mm, 36'' ribbon top and bottom) I use a long straight edge and X-acto blade to cut the slot using my finger on the side of the blade as a depth gauge (something you can't do with a soldering iron tip) and then expand the slot slightly with the tip of a screwdriver.
 Turns out it's better to install it edgewise in the foam rather than lay it flat because then each ribbon has full bond to the foam on both sides and is less likely to buckle under a compression load. I've been doing this for many years on all manner of foam planes (long before FPV) and have load tested the technique extensively. It's also quicker and easier to install edgewise, and easier to avoid screwing up the airfoil. Note also, that when you lay it flat on the SW's wing with its dihedral break, you're building a bend into the ribbon which effectively pre-buckles it, and that becomes the focal point of all compression and tension forces. When I install edgewise across the dihedral break, on top of wing I make the slot deeper at the ends and on bottom of wing deeper in the middle than the ends. The two ribbons are thus installed perfectly straight, so have no inherent weak point.
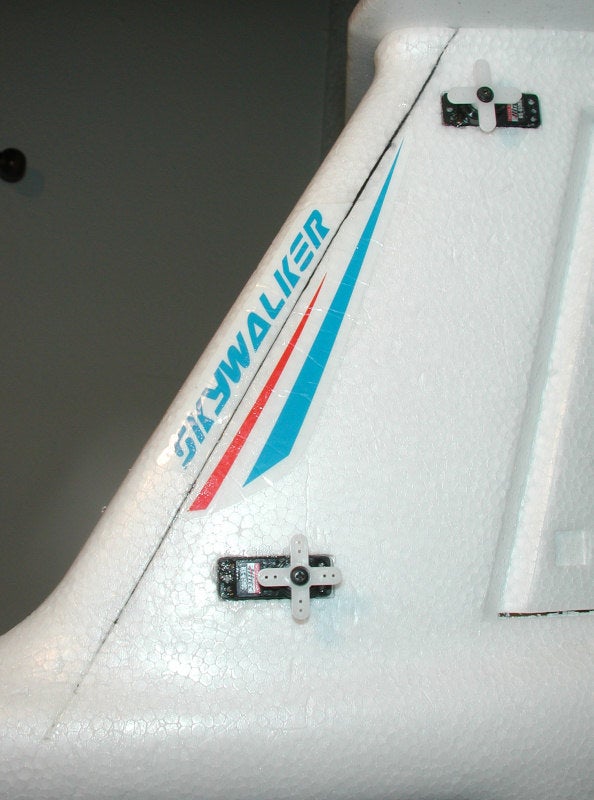 (0.7 x 4mm carbon strips) To stabilize the horizontal stab and maximize the stiffness of the vertical, the ribbons should be embedded edgewise into the outter surfaces and run all the way from the very top of the saddle that the horizontal stab mounts to, down into the heart of the boom. Mounting em opposite like this creates a virtual I-beam. Running em up to the top of the saddle stabilizes the foam in the saddle itself which keeps the horizontal stab from rocking back and forth (eliminating the need for external struts). Running them down into the boom, reduces the bend and twist of the vertical relative to the boom itself.
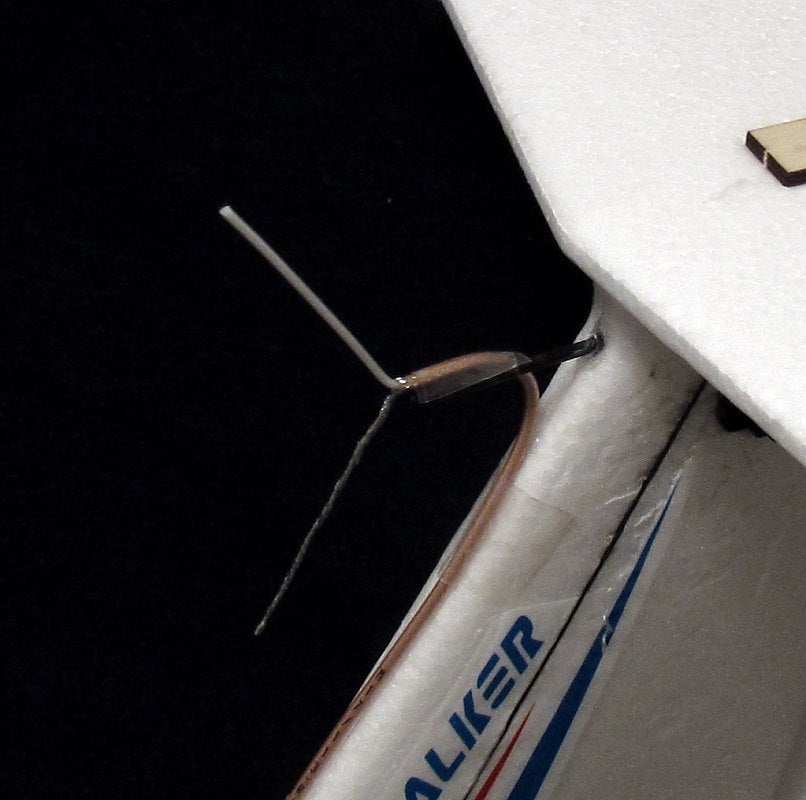 My Vee antenna is mounted a couple inches in front of that (on it's own carbon rod, no less), and I've been out 6 miles with it. So no, the carbon has no measurable effect on video Tx.