Pages

Friday, August 31, 2012

Micro Deans Connectors

Here's the official page.

Polarity Convention:


  • + is the male pin on the battery. 
  • - is the female pin on the battery.
  • + on the speed controller is the female pin (battery side)
  • - on the speed controller is the male pin (battery side)

Color Convention:
  • Red on batteries
  • Black on ESC/charger
  • Black plugs harder to get, a lot of people color them with sharpies.


Youtube overview and soldering guide.


Tuesday, August 28, 2012

Ladybird Dual Rates and Expo

When I replaced my non-binding Ladybird, I took the opportunity to upgrade to the Devo 7 radio.  It's a nice radio but God Almighty it's got a terrible menu system!  It made me dream of the graceful elegance of my Turnigy 9x!

Here's the settings that worked for me.  I couldn't figure out how to use any of the Dual Rate switches, but I was able to finally fiddle with the thing to set these parameters.  Wow Hobbies set the Devo 7 so that one of the switches would toggle between stabilized and acro mode, so I made a copy of the model setting.  For now, I'll just change between models to turn expo on and off.

Pos 0: ELEV D/R - 80% EXP +30%
Pos 0: AILE D/R - 80%, EXP +30%
Pos 0: RUDD D/R - 100% EXP LIN


If I can figure out exactly how I did this, or how to set things so it's switchable I'll update this post.

Monday, August 27, 2012

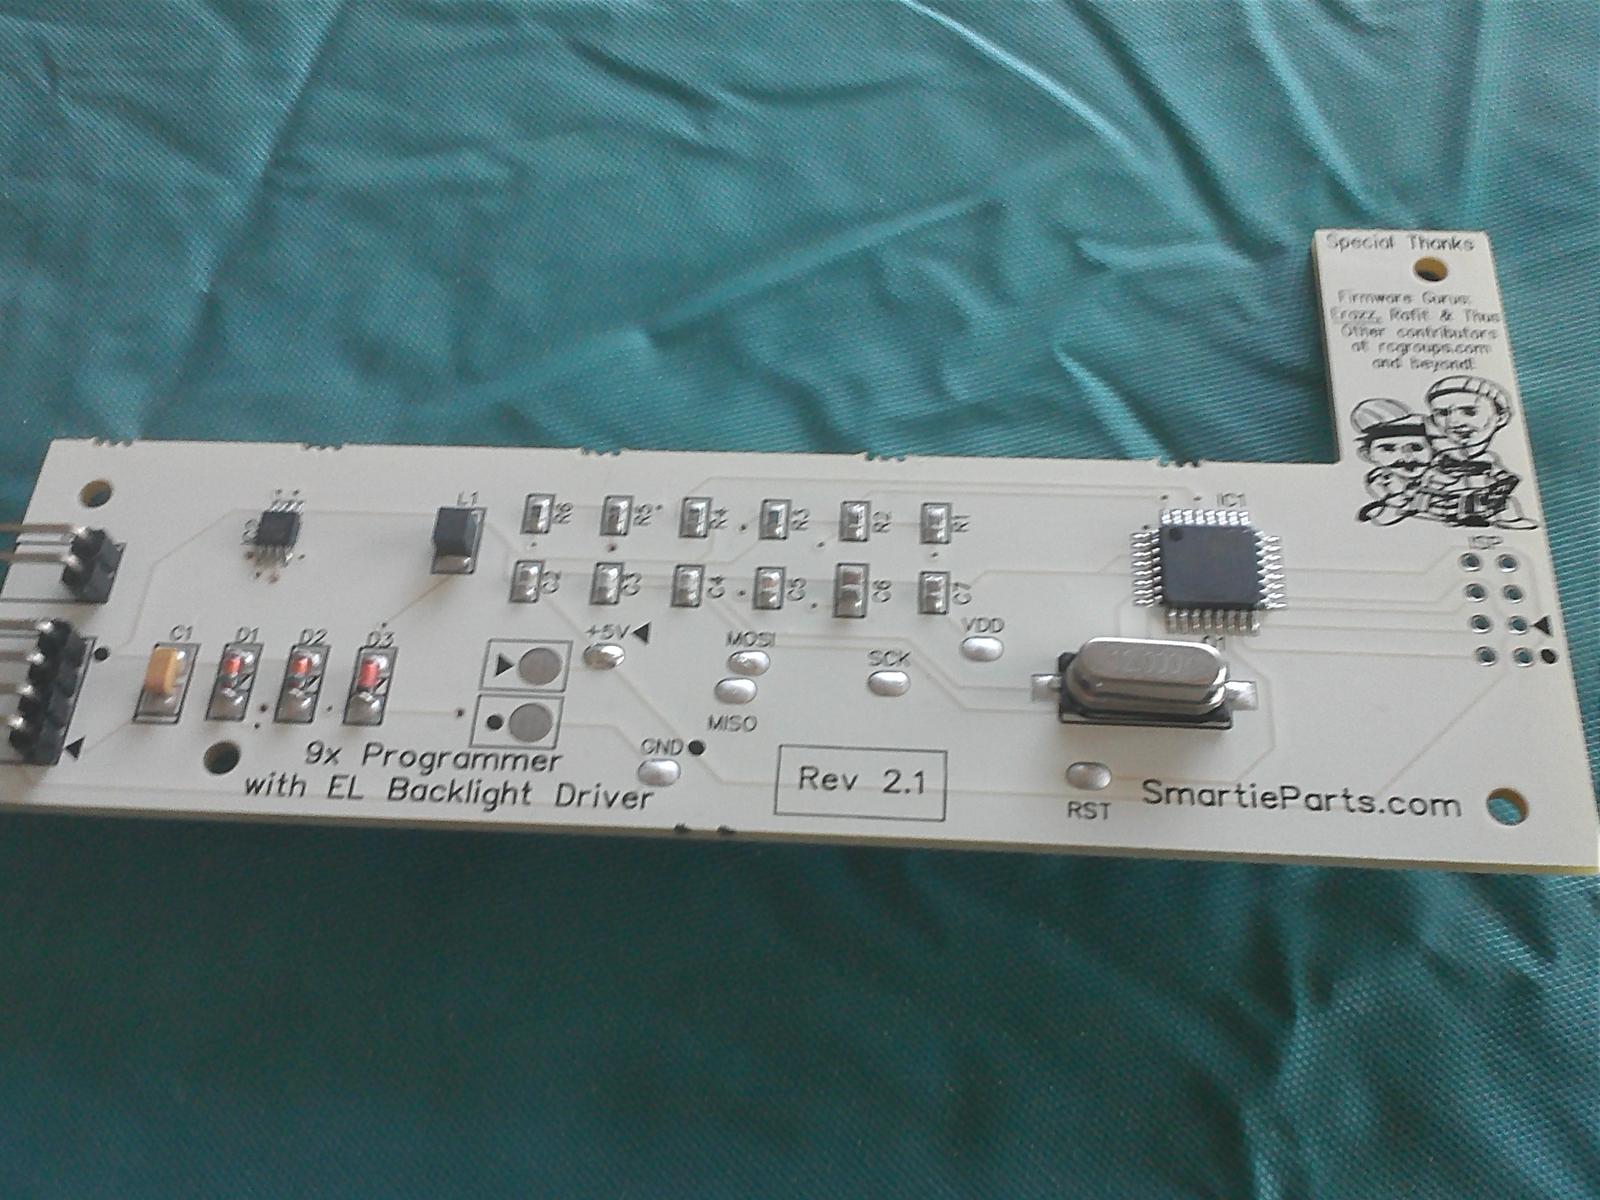
SmartieParts -- one per Turnigy 9x?

I sent this query off to the SmartieParts people:

 Can I use one SmartieParts board to configure 2 
 Turnigy 9x units? in other words, can I use
 the SmartieParts board to install ER9x or similar
 and then remove the SmartieParts
 board?  (Of course, that 9x unit won't be
 able to take advantage of the enhanced
 LED features.)

And got back this response.  It's pretty good information that I haven't seen elsewhere, so I'm taking the liberty of posting it here.  I ended up not ordering a second 9x, so the issue became moot for me anyways!

(update: after installing my SmartieParts board and getting some experience with it, I find I agree with Steven's notes below.)

Steven writes:

Yes you *can*... but I don't think you *should*.  And its not just because I want to sell more kits :) Honestly... there are good reasons:


  1.  Most people quickly realize that they need to update *frequently* because the firmware is in constant development.  There are regular updates (it is slower than it used to be... but still).  Swapping is a pain.
  2. The plastic that you're screwing into... it just isn't designed for constant assembly/disassembly.  You'll strip out the plastic eventually.  That goes for both the main case screw holes as well as the risers that my board screws onto.
  3. Even if you don't frequently update your firmware... one of the huge benefits of a permanently installed programmer using er9x/eepe combination is that you can easily and quickly define and tweek your models' settings on your computer and transfer them to your radio rather than using the less-intuitive radio menu controls.
  4. Similarly, you can hold literally millions of models on your computer but only a handful on your radio.  But with the programmer, all you need is to hook it up via USB and you can transfer whatever models you want at that particular time.

So really... its best to have a permanent connection in each radio.  That's the biggest "complaint" (if you can call it that) people have about my kit is that it is too expensive to outfit it in multiple radios.

At the risk of talking myself out of a sale... I usually advise people with multiple radios to instead buy one cheap-o USBasp programmer and practice up on their soldering skills and solder a permanent connector into each radio and use the one USBasp externally.  See... comparing my $35 programmer to a $10 programmer for one radio is only a $25 difference and that's easily justified by not having to solder and risk damaging the radio... but when you do the math for 2, 3 or 4 radios (or whatever)... now the difference is much larger.  With that said, there are MANY people who have bought multiple kits from me!  There's one guy that has 8 radios and 8 of my kits and he swears by it!

I hope that helps with your decision making.

Steven Morehouse
SmartieParts.com


Sunday, August 26, 2012

Arducopter "In The Air" Levelling

Andreas sent me a great overview of the Arducopter "In the Air" leveling correction [update: originally from Danny Thieverge]:

Did you do the "in the air" level? I call it this way because the real name is confusing for some.

Most people do the "bench" level function, this tells to the APM what is suppose to be square and level but we all know that in the air it's a bit different. One motor can be a bit stronger, something is not square (arms)... the Center of Gravity not really center.  The APM will compensate for all this but it's not optimal flight and stability.

the super quick way to get it done is to Arm your motors as usual then hold the arming position for an extra 20-25 seconds.  you will notice the ABC led on the APM will flash differently.

You are now in "auto trim" mode.  This means you have 45 seconds to fly the copter above 4 feet (above ground effect)  and keep it in perfect steady place. (I STRONGLY suggest you practice before so you know where on your radio is the sweet spot for perfect stable in place flight, for example it could be 2mm up on roll and 1mm left on pitch... learn that sweet spot and then land and arm for 20 more seconds)

So now that you are in this mode (only last 45 or so seconds) the APM will "learn" what "trim" (dont trim radio!!) to apply in air and will zero in it's settings.  If you are not in a wind free environment it will not be perfect.

After the 45 seconds you will be back in normal mode of operation so you will see the copter going in that direction that you were holding. Land and try to take off (normally, in your Stab mode)

the experience should be way better.  if not, you land again, hold again arming for 20 sec. trim in the air again for 45 seconds and land, test and repeat.

It only takes 2-3 pass usually for me to get it very very good.


Weekly Miscellanea

Miscellaneous things this week:
  • reversing a servo internally. tldr: reverse outside pair of three wires, reverse motor wires
  • EasyCAP USB video input.  Good for FPV video capture, $9.  Several other models available. Mac software here and here.   I've got one on order, I'll review it when I get it.
  • quad safety tip: toss a towel over the blades to stop them or keep them from spinning up.
  • Ali Shan Mao flew the tiny QR LadyBird quad.  Object of intense desire!!
  • Ecilop camera mount.  Fully sprung, uses battery as a counterweight.  Nifty!
  • Repairing planes with Instamorph shapable plastic.
  • Scotch Fasteners for mounting gyros.

Ladybird Prop Bumper

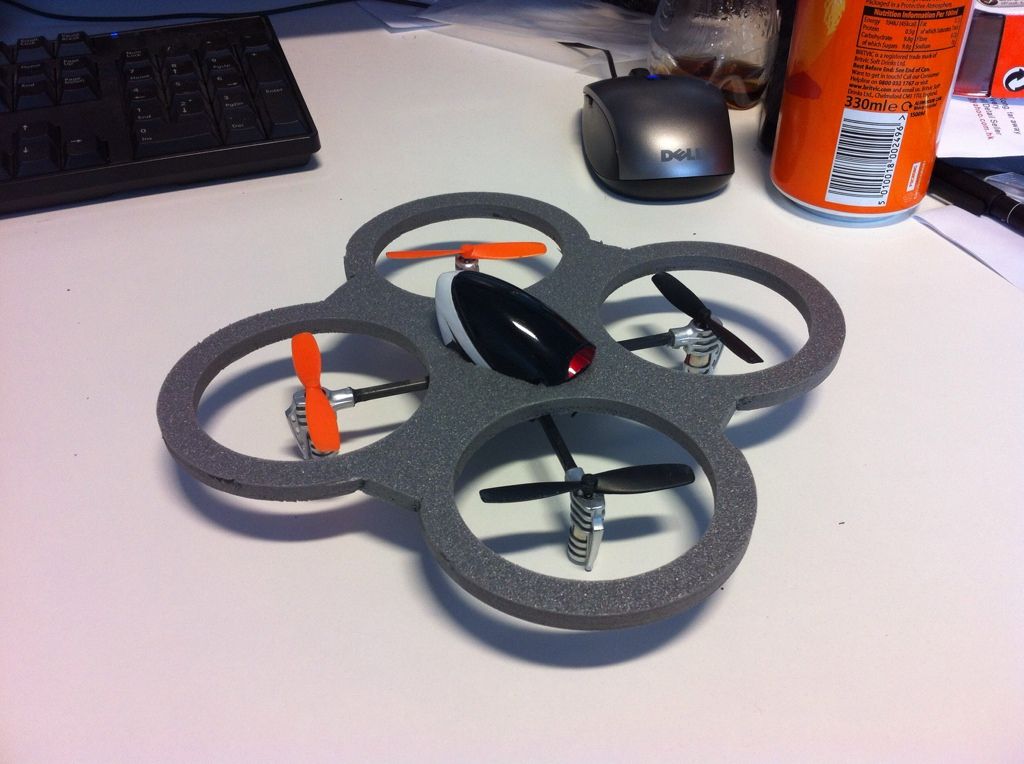
RCG user phoxache made a nice prop bumper.  Cut from 6mm Depron, very nicely done!

Zii Battery Box

So I cut out a battery box for the Zii... After checking with Andreas, I trimmed the foam on the indentations of the front box at the front and back edges.  White PU for attachment.  I set the front and back boards of the box such that they would transfer shock along the side and bottom boards.  I routed out some battery strap slots (the middle one by hand, in case you can't tell).
Initial box cut, a little bit tall.  I whittled it down with a fresh-bladed box cutter.
Not too bad.  Fits snugly in the slot.
Oh no!!  It's just a bit too narrow for the 3S 3000's!  It's pushing one side out... That will affect the structural integrity in a crash, so I may recut the box.
Here's the batteries snugged in and tied down.  Will talk to Andreas about the best place to put the APM, receiver, and ESC.

Activating Camera Shutter via CHDK

Mark VandeWettering over at Brainwagon gave me a CHDK clue... it's been sitting in my mailbox for a while, so let me get it up here:


It's been a while since I looked at this, but I don't think it's difficult at all. If you look at the "home made usb remote" cable: 

http://chdk.wikia.com/wiki/USB_Remote_Cable 

Basically, if chdk has the usb remote trigger support in it, it monitors V+ on the usb input port, and when it goes high, it triggers the shutter. So, just attach it directly to the arduino GND and any digital pin, and you should be able to trigger the shutter.

And related, Arduino Control for EOS Cameras.

Saturday, August 25, 2012

Super-Duper 12-cell, 3-format 1S Charger

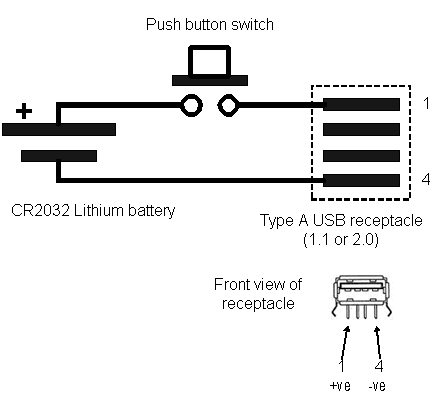
I've really loved my Eflight 4-port Celectra charger.  It's portable and does a great job charging Eflight-style 1S batteries.   But, I have a new love now... When I bought both my Ladybird and my HK FP100, they both came with a tiny 2-port charger powered off of USB.  This makes sense, since USB will deliver a 500mA 5V current, just right for charging two 1S cells.  I wanted to do the same for the eflight-style batteries.
So, I ordered an extra FP100 charger (less than $3!) and soldered in some eflight charging leads.  It was easier than I thought.  I didn't need to unsolder the FP100 connector from the board; instead they were perfectly sized and positioned to be solder pads for the cables. I did open the case to do the soldering though, so I wouldn't have to be so precise in navigating the soldering iron in the plastic case.
After soldering I put the case back together.  Line up the tabs on the FP100 connector or you will bend the heck out of them.  You could do the same thing with the Walkera charger, but those run about $8 Stateside, and HK is perpetually out of stock.  If I can find some Walkera leads (with the right polarity!!) I might make a version for them using the FP100 charger.
Here's the final goal: a 12-battery 1S supercharger, capable of handling four each of three different styles of connectors: eflight, walkera, and HobbyKing FP100.

I've hot glued the chargers to an old USB hub, and will power the hub from a wall wart power supply.  I think I'll be able to fit six of the chargers onto this particular model.  I wish I could find some 3 inch cables!  If I were to go totally insane on this project, I would eliminate the connectors and directly solder the power leads.

  I'll check the amp rating on the hub and power supply to see if it will charge 12 batteries simultaneously at full power;  It would be cool if it did, but I imagine I won't be needing to do that very often.

Friday, August 24, 2012

S107g helicopter control via Arduino

Here's an interesting article by Andrew J. Barry that talks about controlling the ubiquitous Syma heli with an IR LED connected to an Arduino.  Source code included to fly by keyboard!  More discussion at RCGroups.

Thursday, August 23, 2012

EzFly on 2S LiPo

Thanks to Andreas, I finally have a decent video of the EzFly.  This video is with 2S.  3S performs better, and cuts through the wind nicely!


blogodex = {"toc" : "EZFly", "idx" : ["2S battery"]};

Friday, August 17, 2012

Wednesday, August 15, 2012

dave1993's $18 micro-quad

Well this is pretty amazing! dave1993 has put together a microquad for $18.  He's posting more photos and details, but here's what I've gleaned from the thread so far.


  • control board: V929-06 Beetle, SKU:SKU037759, $13
  • motors: 716 coreless brushed, 10 pack for $8.90 specify 1mm shaft as per instructions
  • blades: Ladybird spares, SKU:3xSKU036330, 3 sets for $6
  • bamboo frame
  • motor holders
  • Rx is FlySky compatible
More details to come.  Dave says
"I've built 4 of these so far ranging from 6" (1/4 bamboo sticks) up to 24" (1 bamboo stick per arm). the little one is kinda "frisky" and the big one is too floppy so 12" (half stick per arm) seems a good compromise." [that's 12" motor to motor]"

update: Dave says:
"holders are simply small paper tubes held on with polyurethane (gorilla glue) foam. it weighs almost nothing and is as strong as all getout. in the photo you can see this is reinforced with a triangle of wood tongue depressor which is also used for the center hub. the whole frame costs about a nickel and only takes a few minutes of your time.
havent damaged one yet after many many (have i mentioned many?) crashes so this seems to be working out. i learned about the zip tie legs in the v929 threads and that looks like a great idea too. keeps the quad up off the ground on less than ideal surface and also contributes to unbreakability. and holds the motors in too as youll see when i get better pics."
For Spektrum compatibility, you can use a Blade MQX board. It's more expensive, but cheaper than getting a new transmitter.  Here's one for about $36. 

Tuesday, August 14, 2012

Turnigy 9x Elevon Mixing

 Later I'll add some more verbiage and perhaps even make a video, but for now here's the two screens you need to fiddle with in order to get Elevon mixing going on a Turnigy 9x.

First, set the aileron endpoints to 120% in each direction.  Move the aileron stick left and right to get to the two numbers.

[update: I thought I got this idea from Andreas, but he sent me an email asking about this and claiming never to have done it.  Did I hear about it on RCG?  Make it up out of whole cloth?  Investigation forthcoming!]

Once you've got the endpoints set, go to the Elevon menu and set it to look something like this.  Depending on how your servos are installed, swap the values 100 and -100 until you get things right.

Here's what Elevon mixing does, and how it's calculated.


This space reserved for a video of this.  Will Mark get to it?  The suspense will kill you!
Update: yes he did!

Monday, August 6, 2012

Test post for indexing

this is the alt text
foo bar caption
This is a test post for indexing.  But while you're busy ignoring this, check out the automated master index!

Sunday, August 5, 2012

A Genuine Spektrum Battery Case!

 And another one for Crash!  Like most people, I've been keeping my 1S batteries in old medicine bottles.  It works well, but I'm not able to keep track of which batteries get used more often... I just shake one out and plug it in.

So, when I was given these 6x4 event cards that actually said Spektrum, I knew what I had to do!
 The idea was simple... cut out some strips from foam scraps sitting around, and make a wallet-style case for the batteries.  These were made from some 9mm EPP I had in the scrap bin.  I think just about anything would work.

I hot glued some thicker strips around the three edges, using the batteries as width guides.
 As you can tell, I cut the strips out freehand.  I glued some little squares at the top as stoppers.  I was going to glue these down lower, but the batteries don't seem to shift around very much.  I might glue in some more squares between the batteries so they don't bump their connectors together (update: did this, works well!).  I might use a sharpie to mark the battery sizes as well.  This should make it easy to rotate my batteries consistently.
 I used some clear tape to make a hinge and attach another card on top.  It fit OK, but would have been better if I had been more careful (actually less stingy -- didn't want to waste the scrap!) cutting the bottom piece.
 A thing of beauty is a joy forever!  Since this is a Crash-inspired piece, I'll just point out what an awesome job could be done if somebody printed the foam insert with a Phlat Printer.
It seems to work pretty well.  I'll use piece of blue tape to seal it up, or maybe just lay it flat in my indoor flight box and see if everything holds together.  Anyways, I love having a genuine Spektrum battery case, and I'm sure I'll get some comments from the guys at the next indoor fun fly.

Thanks again Crash, I don't think I would have bothered with this if not for you!

PS, if you like the artwork on the postcard, check out the exhibition running from July 19 - September 13, 2012 at Gallery Carte Blanche!

Easily Measure 1S Battery Voltage

 If you've ever measured 1S battery voltage with a voltmeter, you know it's kind of hard to squeeze the voltmeter probes into the 1S connector.  I worried that (a) I might munch up the plastic on the connector and (b) short the battery out, since the's about 1mm or less between the leads.

So, I made a quick measuring jig, soldering an male XT-60 onto a pair of banana clips.
I then soldered a female XT-60 to a 1S connector, making it easy to plug in the battery and check the voltage.  Of course, the XT-60 plug gives me an easy way to check most of my other batteries, although as a practical thing I'll probably still use my little meter that plugs into the balance plug.

Thanks again to Crash, who's having a hints-and-tips contest over at the CrashCast.  I don't think this gives me any advantage in the drawing, but it did give me the kick to put up some of my small ideas for managing small batteries.